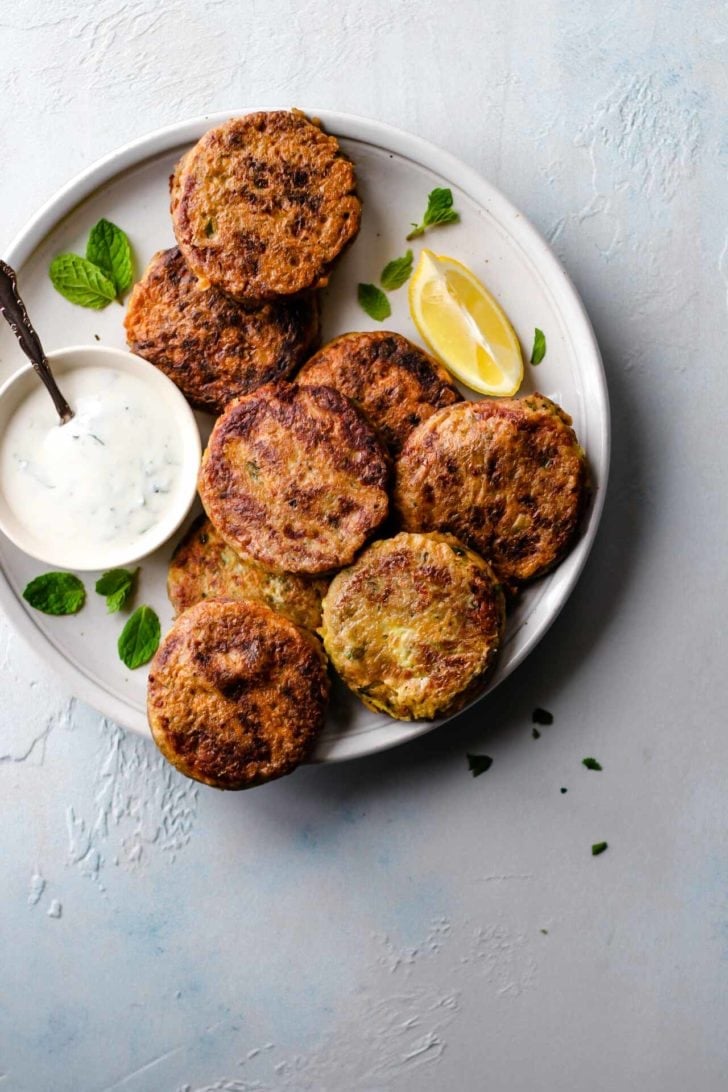
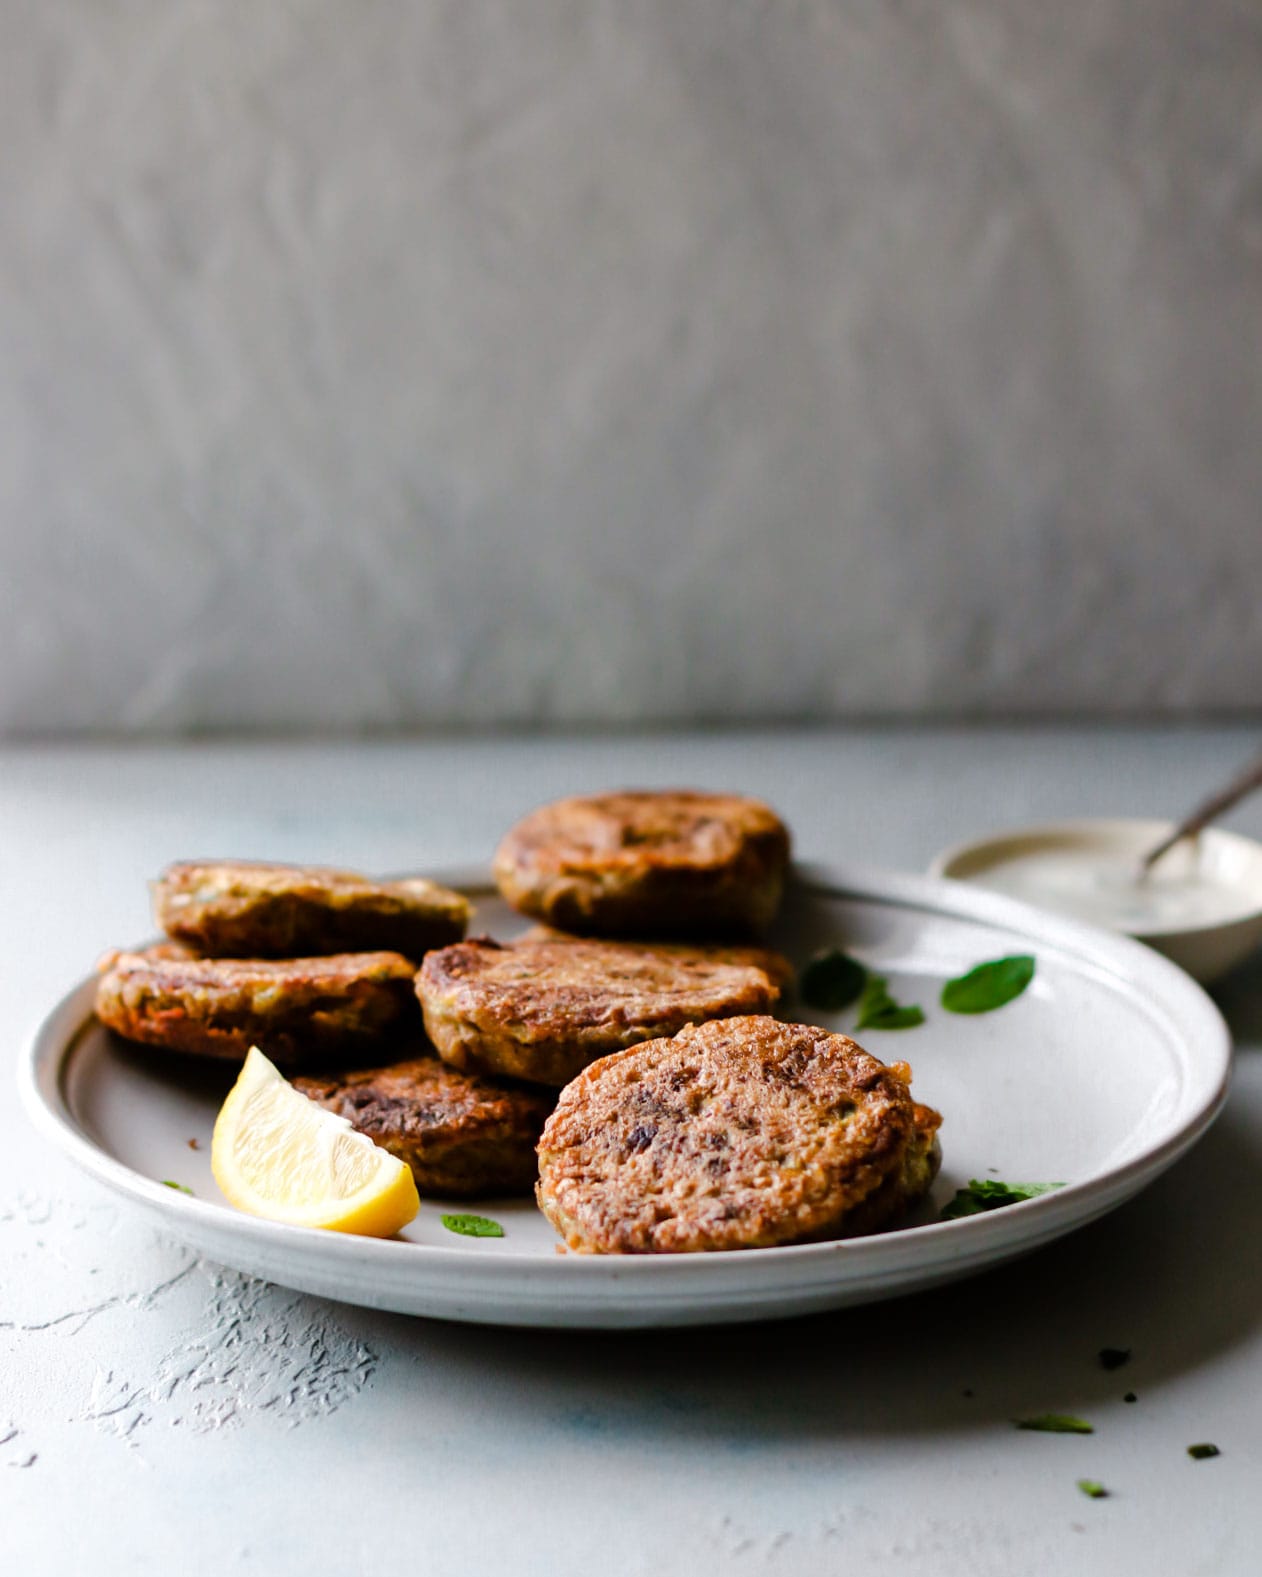
Shami Kebab
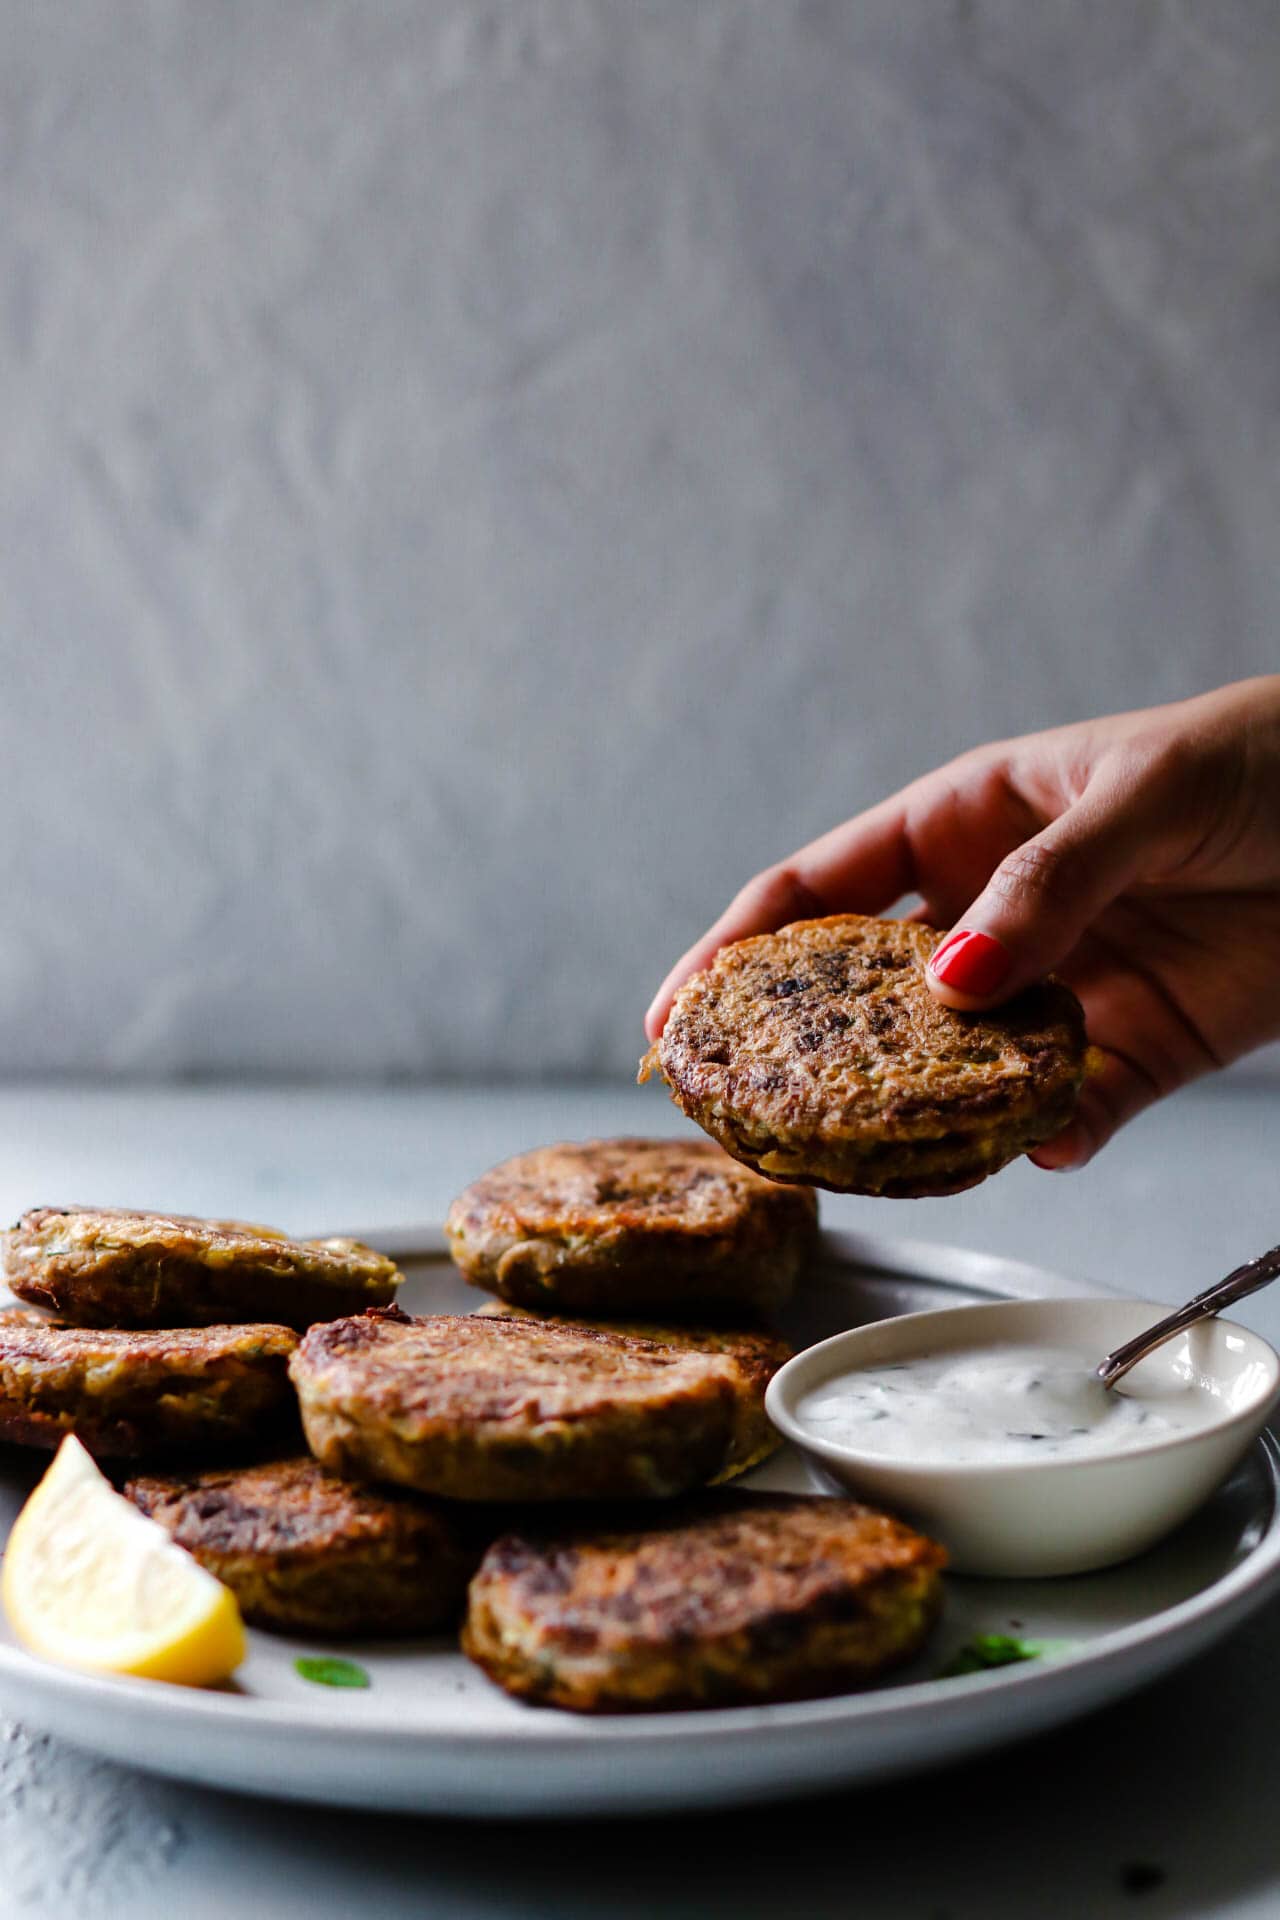
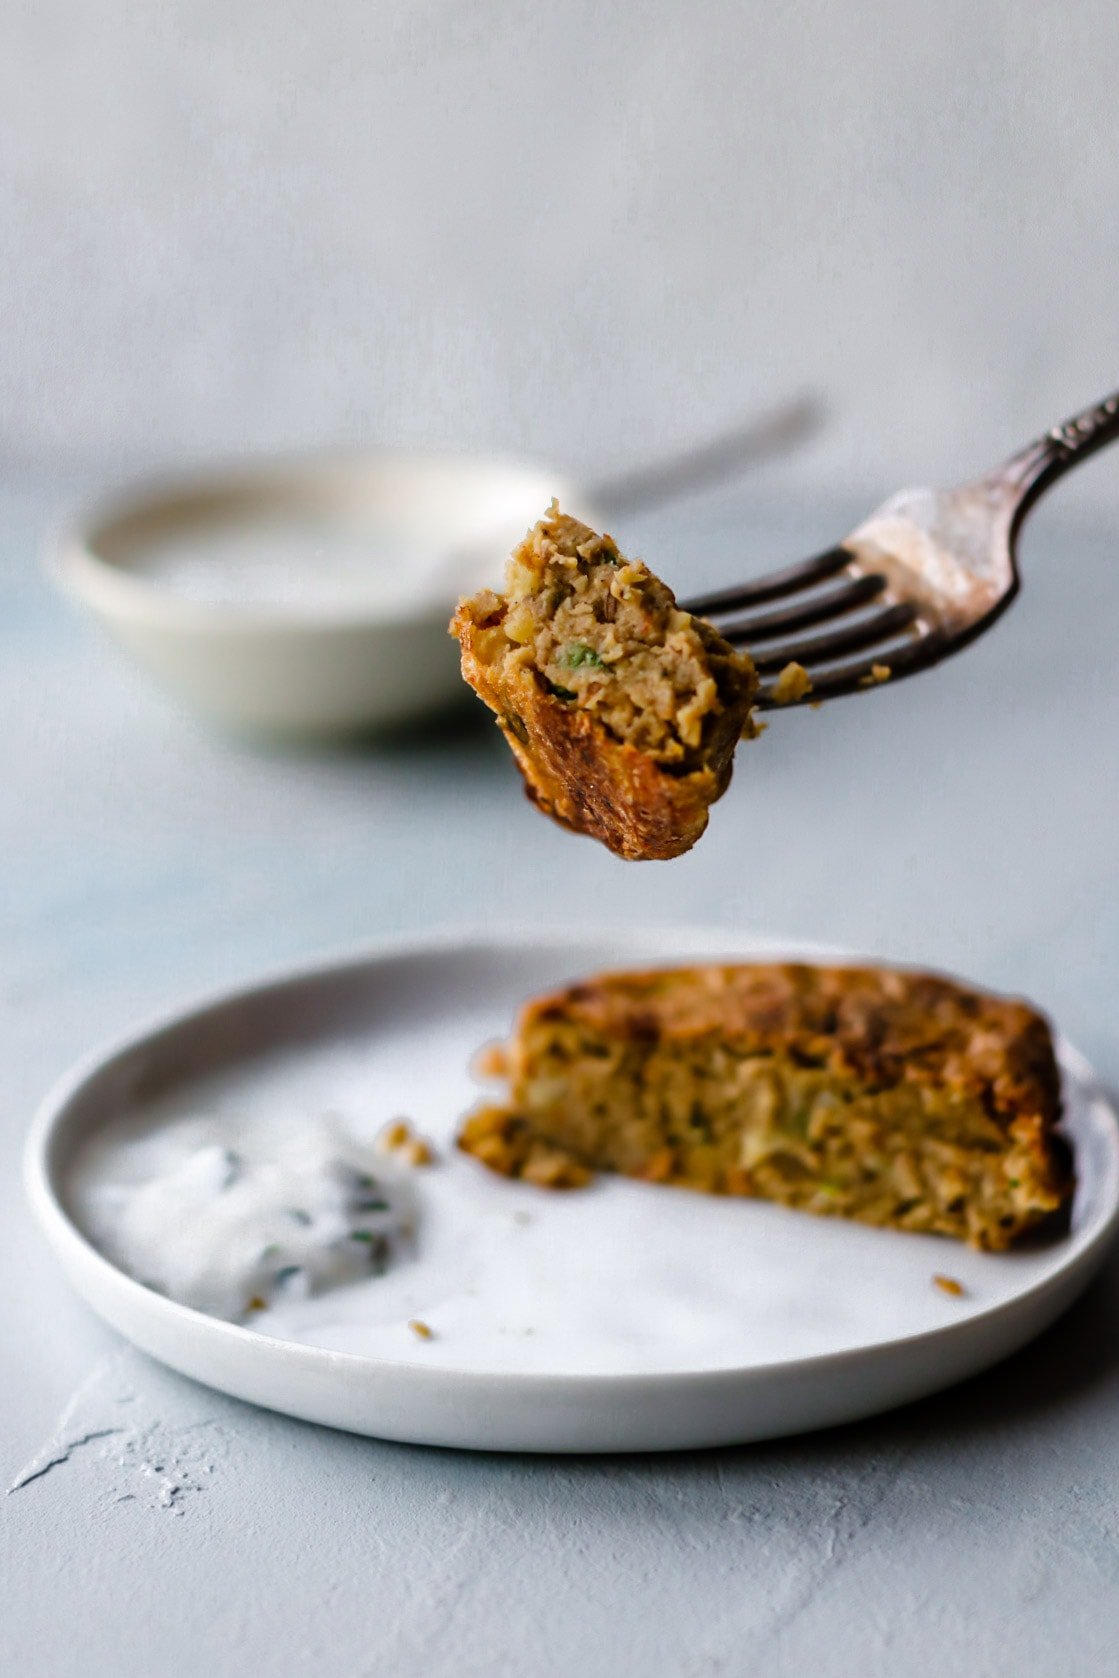
If you’re Pakistani, it’s likely your mom/relative/aunty has a Shami Kebab freezer stash waiting for the next unexpected guest, hungry child, or lazy evening to strike. Enter your email below and get it sent straight to your inbox. Plus, get recipes & tips every week! It’s a somewhat prevalent practice, and with good reason. It means when life gets busy, there will be Shami Kebabs within arm’s reach. Silky, wholesome, deeply flavorful kebabs ready to be thawed, pan-fried and served to a someone who’ll likely be grateful for them. Shami kebab are not only freezer friendly – as in no detectable change in texture, quality, or taste – they’re also incredibly versatile. Have them with your afternoon chai, as a side to make any dinner menu more abundant, or, my favorite, in a shami kebab sandwich drizzled with ketchup or hot and sour sauce. More Ideas for your Freezer Stash: Chicken Puff Pastry, Keema Naan, Chicken Kofta.
How to make Shami Kebab
Shami Kebab are one of those kitchen endeavors that look a lot more intimidating than they actually are. Here’s a walk-through:
Using Beef Stew Meat vs Ground Meat
Shami Kabab purists will, rightly so, insist that beef chunks be used instead of ground beef. This lends them the traditional, silky texture with ‘resha’, as is often said in Urdu. I grew up with the ground beef version and that’s what I typically use. I hope to try it with beef ‘boti’ sometime and I’ll update you when I do. To learn more about the origins and culture of Shami Kebab, check out this beautifully written piece by my friend Maryam.
To bake: I was surprised that they bake pretty well! Line baking sheet with parchment paper and lightly grease the top. Dip the kebab in the egg mixture as you normally would, and then bake them at 450°F for 12-15 minutes, turning midway. To air-fry: Preheat the air-fryer to 400°F. Spray the bottom of the air fryer with cooking spray. Place the egg-washed kababs on the greased tray and air fry at 400°F for 6-7 minutes on each side.
Update: I tried this recipe with beef stew meat (beef boti) instead of ground. While they were easier to dry after cooking, I found them to be a bit meatier in taste when using the same meat:dal ratio. That said, it a 100% doable with this recipe. The main difference will be an increase in cooking time (45 min in the Instant Pot). You will also have to shred the beef stew pieces through the stand mixer or food processor first, similar to haleem. I plan to try again and give updated instructions & possibly a tweaked beef boti/chana dal ratio if using beef stew pieces.
More Tips and Notes
Serving Ideas
Shami Kabab are incredibly versatile. Here are a few ideas:
To Freeze: Shape the kebabs and place them on a tray in the freezer for 1 ½ to 2 hours. Once firm, transfer them to an airtight container or zip-top bag, and freeze until needed. To Thaw: Ideally, let the kebabs thaw at room temperature until slightly softened. If you’re short on time (which I often am), use the defrost setting on the microwave to thaw just until softened, about 30 seconds. After defrosting, coat them in egg wash and pan-fry as per recipe. If you’re concerned they might break, you can skip thawing and pan-fry straight from frozen over low-medium heat. To Reheat: For pre-cooked kebabs, thaw them in the microwave just until softened, then crisp them up by pan-frying or air-frying at 350°F.
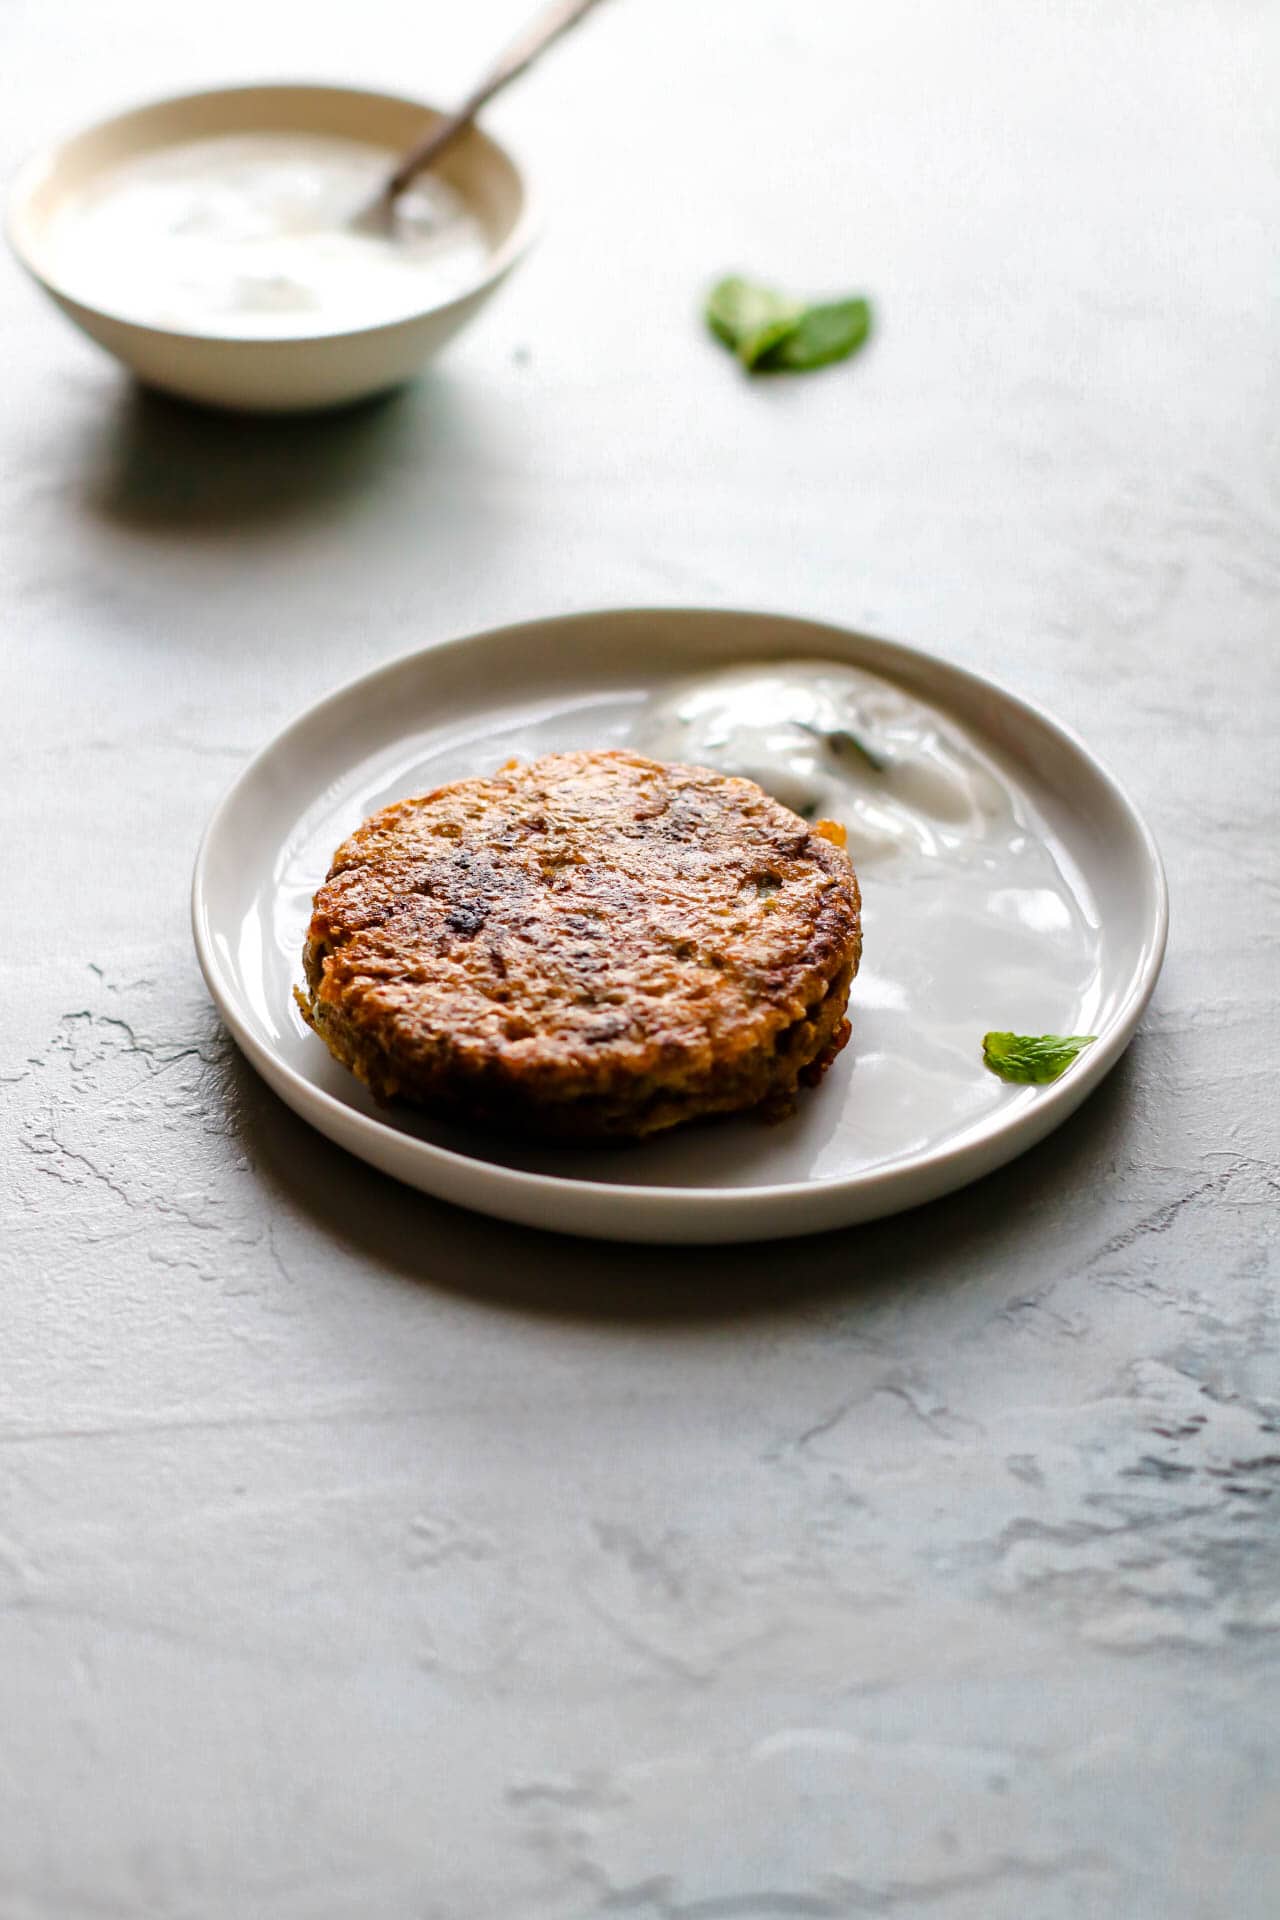
Serve alone with hot and sour sauce, ketchup, or chutney of choice. (Preferably along with chai!) Use as a patty for burgers (aka ‘bun kebab’) with red onions, tamarind chutney, and mint raita. Shami sandwiches are my go-to for my kids’ lunchboxes. I usually spread mayo and ketchup on the bread, then I gently mash the shami kababs with a fork before assembling the sandwiches. Serve with Kachumber Salad, or fresh, crunchy vegetables chopped up with a bit of salt, pepper, and lemon juice. Serve as side alongside Mutton or Chicken Pulao with chutney or raita.
