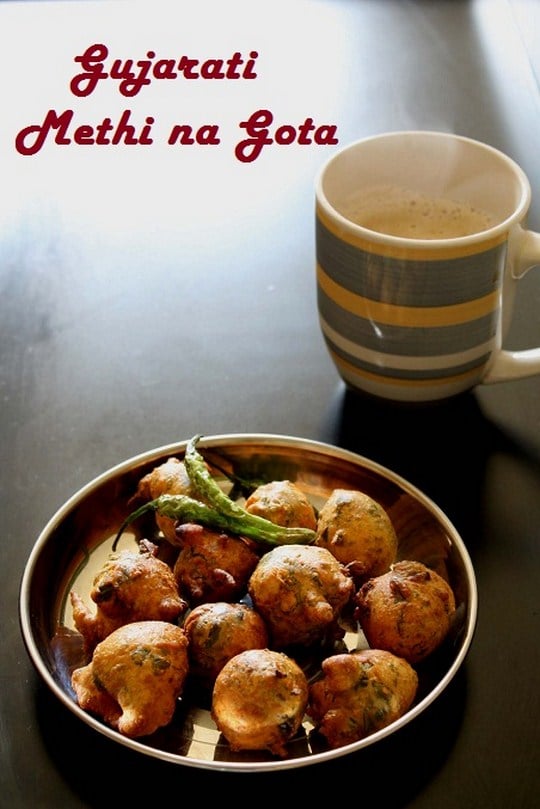
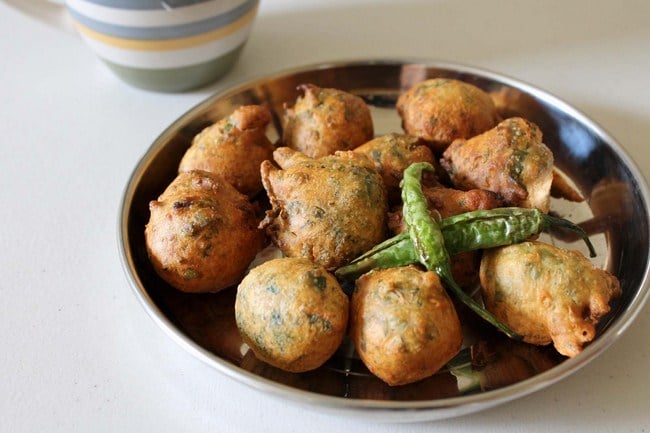
At this time of winter, it is pleasure to have hot Methi gota with a fried chili and cup of tea. It is very popular snack from Gujarat. You will find these methi pakoda in every shop which sells snacks aka ‘Farsan’ in Gujarat. Apart from winter, it tastes best in monsoon. When it’s raining, you will see a big crowd at For those who doesn’t know, methi is fenugreek leaves and gota means pakoda or fritters. So methi gota = fenugreek leaves pakoda = fenugreek leaves fritters. Today I shared these delicious Methi Gota recipe. So from now you can make them at home and they taste exactly same as store bought. These mouthwatering methi gota are light and fluffy and spongy from inside and crunchy from outside. Usually pakoda and gota are different. Pakoda are little crispy and has less water added while making batter, while gota are soft, spongy and batter is thin compared to punjabi pakoda. There are so many people who make this at home. And usually their procedure is mix all dry ingredient and then add water to make batter. By doing it this way, they won’t be as fluffy as store bought, they become little dense. So I found this different way of making batter which gives you very light and fluffy gota. My procedure is totally opposite than usual household procedure. I mix wet first then add flour to it to make batter. It is very important to add hing (asafetida) and carom seeds (Ajwain) to this methi gota recipe. Because gota made from besan (chickpea flour) which is heavy. So please do not skip these two ingredients for easy digestion. Check out more recipes using methiMethi na thepla // Methi muthia (fried or steamed) // Aloo methi subzi // Methi dal
Step By Step Photo Instructions:
- Take water and 1 tablespoon of oil in a bowl. Mix it well.
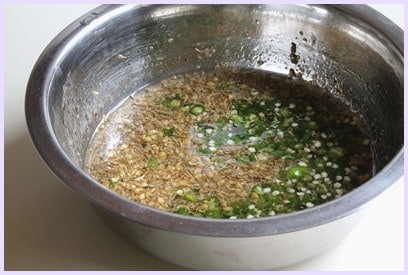
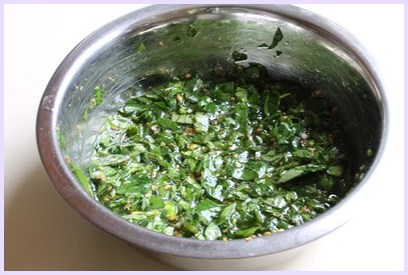
- Then add baking soda, salt, sugar, asafetida, crushed peppercorns & coriander seeds, carom seeds and green chilies. Mix it very well.
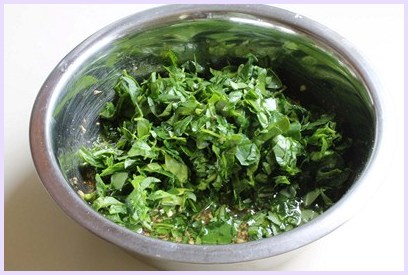
- Then add washed, chopped fenugreek leaves.
- Mix it properly.
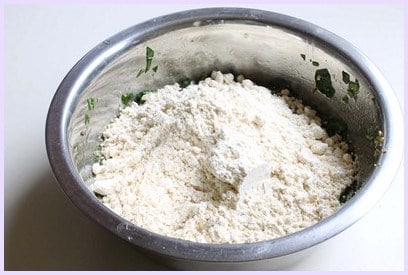
- Now add chickpea flour (besan).
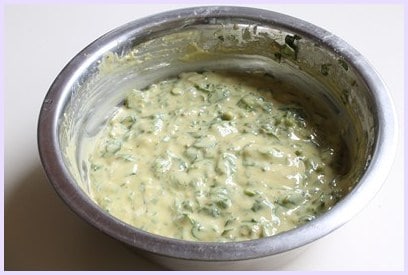
- Mix it and make sure there are no lumps. I have used wire whisk to beat it and made lump free batter. It should be thick.
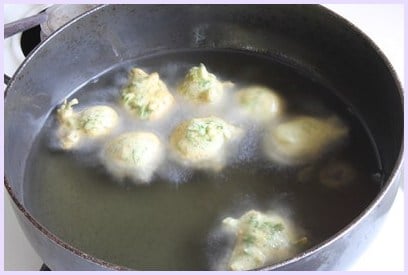
- Heat the oil in a pan on medium heat for deep frying.Once oil is hot enough Drop small balls in the oil using your hand or with help of two spoons. Make sure that you drop medium sized batter in hot oil, because while it is frying then will puff up and get bigger in size.
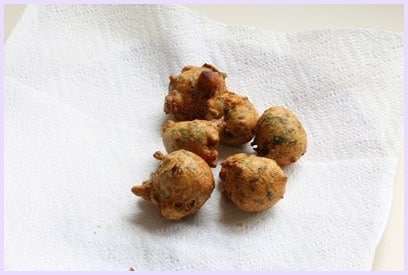
- Do not touch them for at least 40 seconds after dropping batter otherwise they will break. After some time move them around and fry till they become golden brown. Remove them on paper towel line dish. These are best served hot. It should go directly into the serving plate from kadai to feel its taste. But if want you can keep them for 1 day. I found a problem that the outer crust will become soft as it cools. I do not prefer to keep it more than half hour. Serving suggestion: My family likes to eat them with a cup of tea or coffee and some fried chilies on side. But you can have them with coriander chutney or tamarind-date chutney or any other chutney of your choice.
Expert Tips:
In this recipe, green chilies are only spice that we are using. So I have used 4 medium sized chilies. If you don’t like spicy you can reduce the amount. Use it as per your liking spiciness.I have used fresh methi leaves. First remove stems and keep only leaves. Measure the leaves to ½ cup then wash it very well, squeeze all the water and then chop them.Always fry gota on medium heat, and keep moving them to get it golden brown from all sides. If you fry them on higher heat then they stays raw from inside. It is very awful to eat raw besan.Gota will expand or puff up in size as they fry, so make sure to add small-medium sized batter in hot oil.To make fried chili, wash and dry chilies, give a slit and deep fry in oil. It takes only few seconds.
Did you try this methi gota recipe? I’d love to hear about it! Leave a review in the comment section below.
