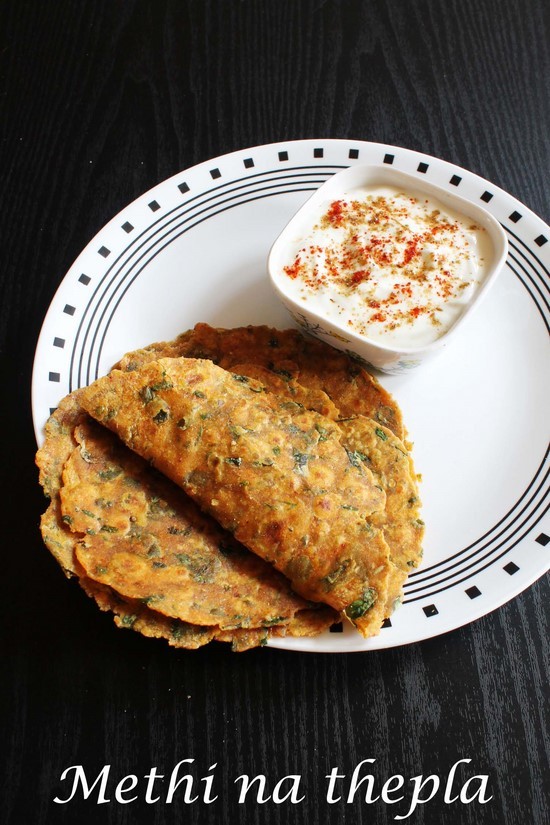
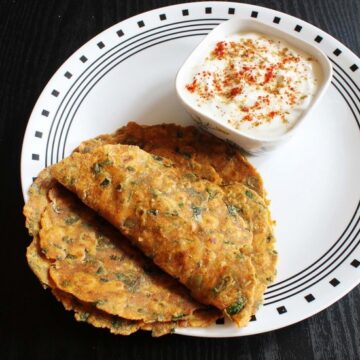
I do make many variety of theplas like Mooli thepla, doodhi thepla, mixed vegetable thepla, sada thepla. Many people ask that what is the difference between paratha and thepla? I would say there are many differences between them. To know please check out my Lauki thepla recipe description. Every household has their own recipe for making thepla. Some makes with mixture of flour e.g whole wheat flour, millet flour, gram flour. While some makes with only whole wheat flour. I always make with only wheat flour. I learned this from my mother-in-law. She makes the best thepla. She taught me so well. So I am sharing her recipe here. Also I have mentioned tips to make soft and perfect thepla below. Thanks to mom for this wonderful tips. This methi na thepla recipe is perfect for those kids who do not like to eat leafy vegetables. If making for kids adjust the spice level accordingly. Spread mango chunda lightly on the thepla, make roll out of it and give it to kids. They will happily eat it. This way you can include greens in their diet. Check out More Gujarati recipesKhandvi // Lasaniya batata // Dal dhokli // Nylon Khaman
Step By Step Photo Instructions:
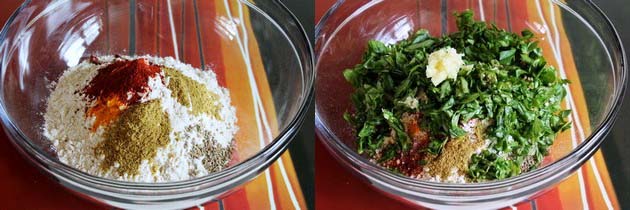
- Take wheat flour, red chili powder, turmeric powder, coriander powder, cumin powder, carom seeds and salt in a bowl.
- Add green chilies, ginger paste, methi leaves and oil.
- Mix it with your fingertips. it will be crumbly looking texture.
- Now add little water a time and knead into semi soft dough. It should not be too hard or too soft. you might need less water, if your washed methi leaves has water then you might need less. So it good idea to start with 1-2 tablespoons of water and keep kneading and adding the water as needed. I washed the methi and kept them in a colander. By the time I use in the recipe they are pretty dry so I used more water. Cover it and keep it aside for only 15 minutes. Do not let it rest for more than 15 minutes. If so methi leaves will starts leaving the water and dough will become too soft and sticky.
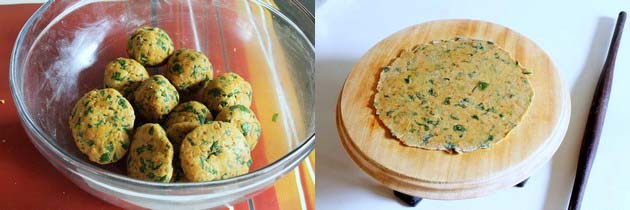
- After 15 minutes, knead the dough once again to smooth out. Divide it into 12 equal smooth balls. Flatten it out between your palms.
- Start rolling the thepla. Take one flatten ball, dip it into dry flour. Roll it into 5-6 inch diameter circle using rolling pin and rolling board
- Heat the tawa or pan on medium-high heat for shallow frying thepla.
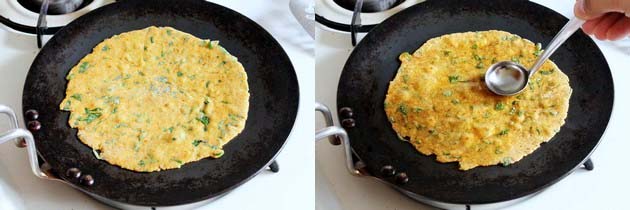
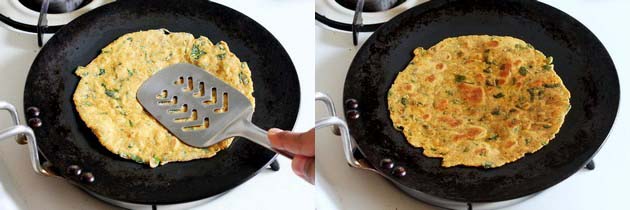
- Place rolled thepla on hot tawa. Let it cook for 30-40 seconds or till you get few bubbles on the top.
- Then flip it with help of spatula. Drizzle some oil and spread it evenly on it.
- Again flip the thepla. Press it lightly with spatula. Cook till bottom side is cooked and you won’t see any doughy part. Also apply some more oil on top side and flip and cook again by pressing.
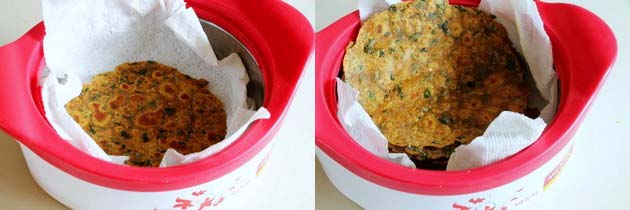
- Once cooked on both sides remove it to the insulated container. Quick tip – put a paper towel at the bottom of the container, so it will absorb the water particles made due to steam. Thus thepla will not become soggy.
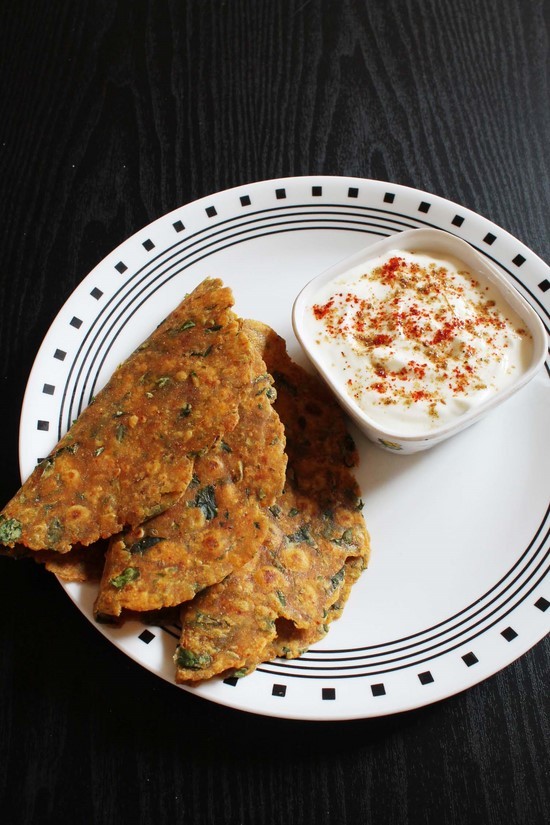
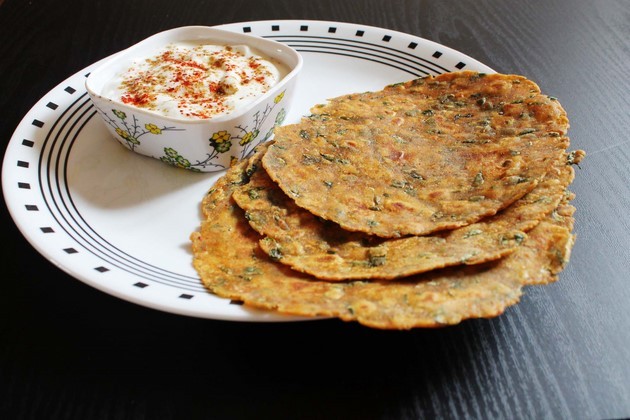
- Repeat the same process for rest theplas. I have served methi thepla with masala yogurt . Masala yogurt means plain yogurt mixed with salt, red chili powder, cumin powder and pinch of sugar. Serving suggestion: Serve methi thepla with yogurt or pickle or mango chunda. I usually make it as dinner and I serve with yogurt and sukhi bhaji. It can be served as a breakfast with hot cup of tea or coffee.
Expert Tips:
Always knead the dough using warm water or yogurt. Dough should be semi soft consistency. If it is too soft then it will be sticky and hard to roll. If dough is hard then end product will be dry and chewy.Always fry thepla on medium-high heat. If you fry on low heat, it takes longer time to cook. Thus thepla will become hard and chewy. We are frying thepla on medium high heat. So your kitchen might get smoky. So turn on the exhaust fan. If you have fire alarm in your home, turn it off. It might start beeping. It happens to me all the time.You are going to eat it right away means within an hour. Then it is ok to use less oil while frying them. Otherwise please go liberal on oil to get soft texture.You are making thepla for travelling or want to store them for 4-5 days. Please use little extra oil while frying them. And also apply some ghee between two theplas. So they will not dry out after days and will stay soft and moist. Now you say, it will add extra calories. No worries, at the time of serving just pat them with paper towel to absorb excess ghee or oil. This oil/ghee acts as an preservative.I have seen many people add ‘Besan’ to thepla even my mom does add. I never suggest to add besan. Thepla made with besan will become hard and very chewy as it cools. And that’s why I never add besan to my any thepla recipe. You never know you might have leftover.Always roll it to medium thickness. It should not be thick like paratha. Thinner the thepla, softer they will be.Do not use dry flour more than twice while rolling them. Otherwise end product will be dry.You should never re-heat thepla in microwave or on tawa. If reheated then it will become chewy.To make jain thepla skip the ginger paste in the recipe.
Did you try this methi thepla recipe? I’d love to hear about it! Leave a review in the comment section below.
