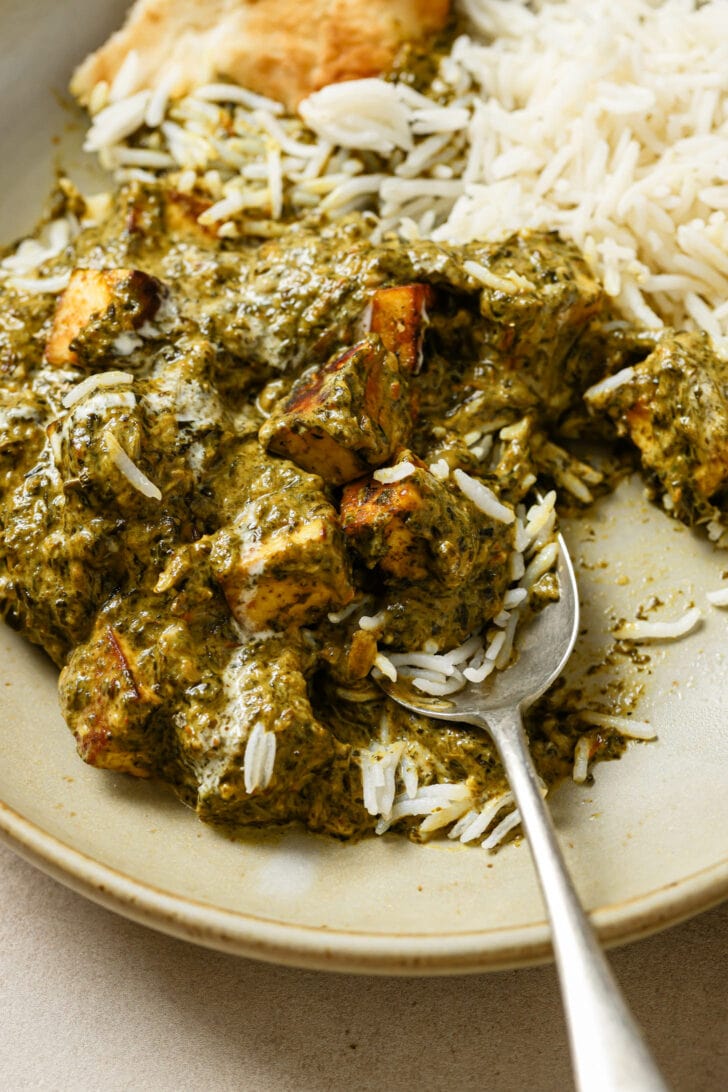
Palak Paneer
Palak Paneer aka Saag Paneer is a classic, iconic Punjabi vegetarian dish. You’ll find it at most Desi restaurants, even the most BBQ-forward Pakistani ones. Enter your email below and get it sent straight to your inbox. Plus, get recipes & tips every week! First, there’s the paneer, a cheese with a mild, pleasant flavor and soft yet sturdy texture so befitting in curries. Then there’s the spinach, which is spiced and creamed in such a way that makes me doubt there’s a better way to consume spinach. Even kids with an aversion to the mere idea of vegetables will happily devour the palak in Palak Paneer. And then there’s the way that both these elements – the creamy spinach and tender paneer – mingle to create a dish that’s wholesome, layered and textured. It’s magical. More Restaurant Favorites: Butter Chicken, Rajma (Kidney Bean Curry), Matar Paneer
Recipe Development
Developing this recipe gave me the opportunity to create my ideal version, one with traditional, nuanced flavor, made with practicality and ease. In my process to develop this Palak Paneer recipe, I:
Perused 10 cookbooks to study the key elements of a classic Palak Paneer recipe Tried it at several restaurants (not an easy feat around my meat-loving Pakistani family) Tested it countless times with different kinds of spinach, and variations in preparation, spices, and amounts of cream to spinach to paneer Consulted expert cooks and restaurant owners, and Had it tested by three different recipe testers.
It’s a recipe you won’t have to fuss around with to make it taste better-than-restaurant’s. If you try it, I’d love to hear what you think.
How To Get the Classic, Restaurant-Style Flavor of Palak Paneer
Core Ingredients
I quickly discovered that much like home cooks, restaurants don’t always make their recipes in the same way. But most restaurants have a few commonalities:
Cream: Always an essential for restaurant-style flavor and mouthfeel. Kasuri Methi (dried fenugreek leaves): You’ll often find this dried herb alongside spinach in curries (ex. Sarson Ka Saag or Aloo Palak). Many restaurants use it, especially those that are rooted in Punjabi cuisine. It’s also an essential in curries like Butter Chicken, Mixed Vegetables, or Daal Makhni. Ghee: Though not every restaurant uses it, butter or ghee elevates homemade Palak Paneer to restaurant-level.
Shortcuts – What I Skip
Here are a few steps I’ve seen in many recipes and why I choose to skip them: Skip:
Blanching the spinach: Around half the cookbooks I studied suggested blanching the spinach, which softens the spinach and gives it that bright green color and puréed texture. I skip this step because as long as you cook the spinach well to get the rawness or kachapan out, I don’t find it essential to actually build flavor. Lastly, restaurants also usually skip this step, often indicated by their darker green color & textured spinach. Making paneer: I’ve used and recommend RecipeTin Eats Paneer recipe to make paneer. It does take Palak Paneer to a different, homemade satisfaction sphere. But it also turns this 50-minute (minus washing spinach) recipe into a 2-day project, and most restaurants and home cooks certainly don’t make their own. I also noticed that homemade paneer is softer, more delicate, which Nik Sharma says can be firmed up with food-grade calcium chloride.
Palak Paneer vs. Saag Paneer
Though this has been reiterated many times, I thought I’d share my perspective.
Palak = Spinach Saag = Greens
Saag is used to describe any curry of stewed or puréed vegetable greens. Any type of greens can be used in Saag, but mustard greens (Sarson) are the most common in Pakistan and India. (See: Sarson Ka Saag) Restaurant Saag Paneer usually does not include mustard greens, only spinach. So even though it may be labeled Saag Paneer on their menu, technically it may be Palak Paneer. In fact, around Houston, I’ve only found two restaurants with Saag Paneer that actually has mustard greens in it.
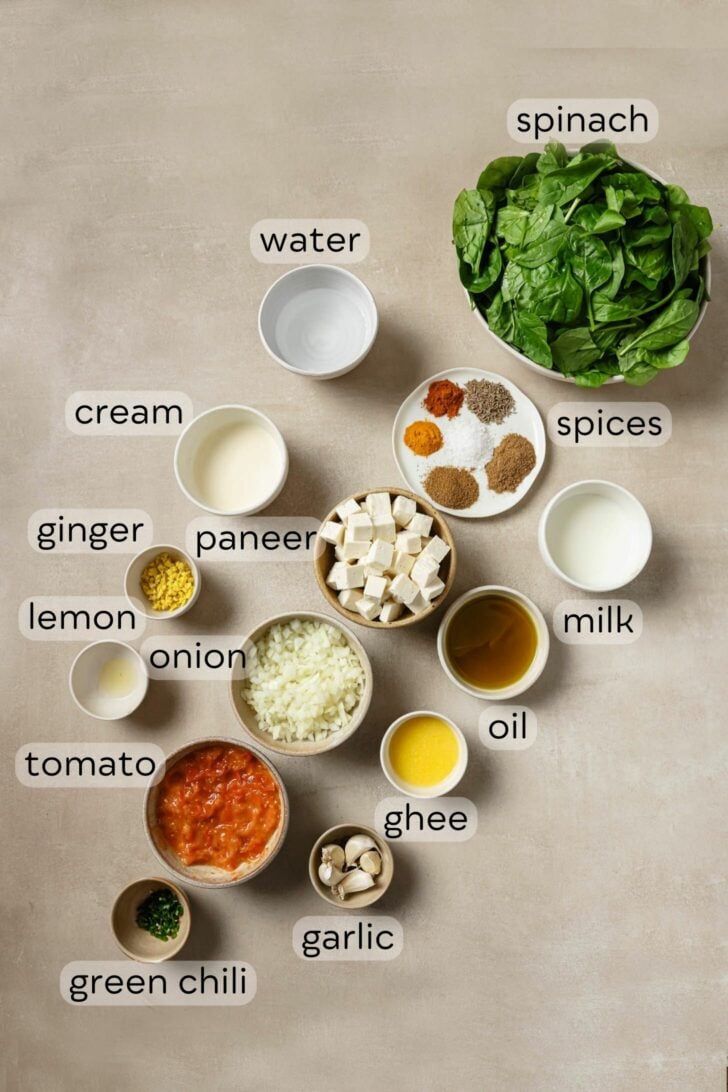
Ingredients
Here’s what you’ll need:
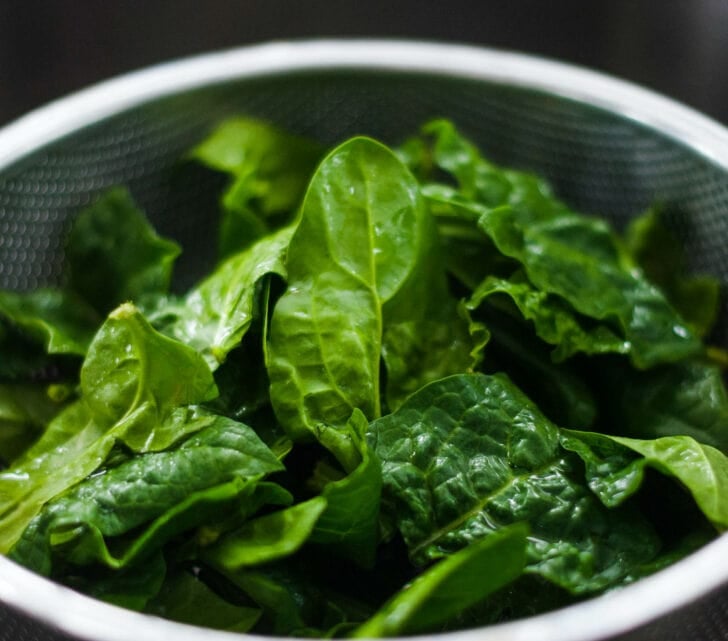
Spinach
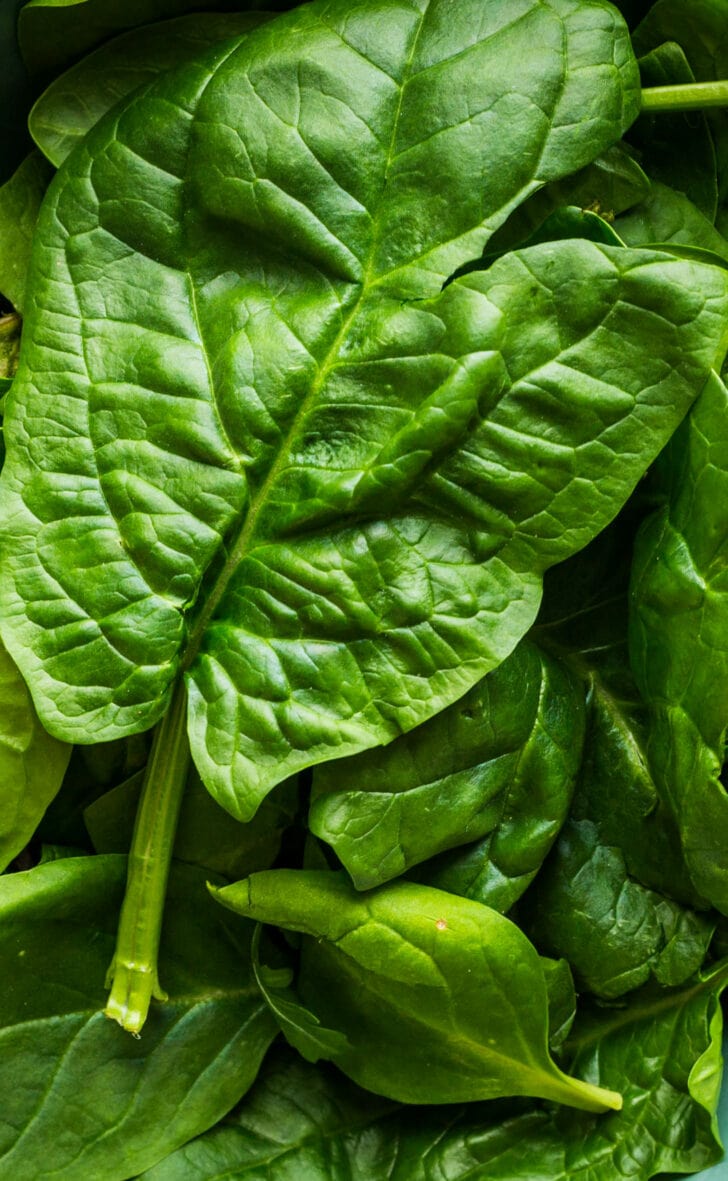
I’ve tried using all three of these forms of spinach in this recipe. Here’s what I’ve learned:
Regular/Mature Spinach (best): Easily the best, taste-wise. Sometimes you’ll find it in bags, washed, but I usually find it in bunches. The pro is that it simply tastes the best in Palak Paneer, but it does take some patience to wash since it’s fresh from the earth. Frozen Spinach (2nd best): I don’t need to tell you the benefit of using frozen spinach – it’s much too convenient. But in terms of flavor, frozen spinach tends to diminish the good, earthy-sweet flavor of spinach while bringing out its drier, minerally elements. But there are 2 ways to combat this: Opt for whole-leaf or cut-leaf spinach instead of chopped spinach, which diminishes the integrity of the leaf. Use less (in weight) frozen spinach than fresh. So 10-12 oz frozen would replace 1 lb of regular spinach. Baby Spinach (3rd best): Baby spinach doesn’t add the robust, full-bodied flavor of fully grown spinach. I think more discerning palates may notice this, but most won’t. If that’s all you have, I wouldn’t let this deter you from making this.
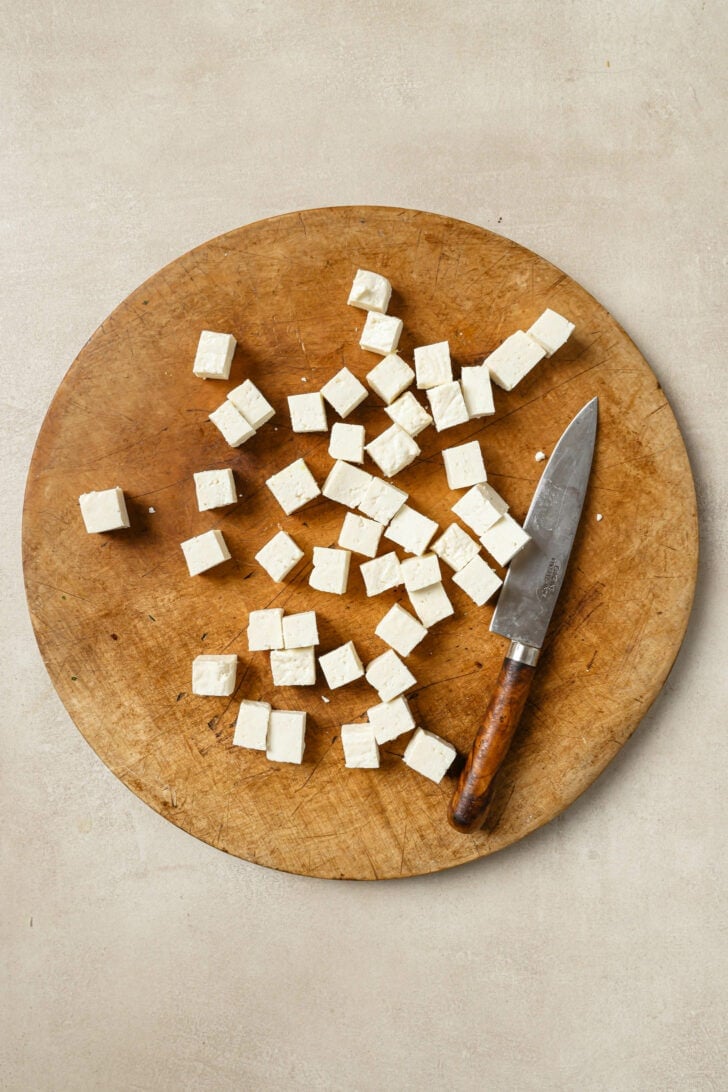
Paneer
Made from curdled and strained cow’s milk, paneer is categorically a cheese but not cheesy in taste. It’s now available at many supermarkets. I usually keep the blocks in the fridge if I’m using it that same week, otherwise I store in the freezer. Thaw the block in the fridge the night before you plan to use it.
Substitutes: Though I haven’t tried any myself, I’ve seen options to replace the Paneer with everything from Tofu (made from soy) to Queso Fresco (similar to Paneer in preparation). Halloumi would also be an excellent, albeit saltier option.
Notes on other Key Ingredients:
How to make Palak Paneer
You’ll find the full recipe below on the recipe card, but here are some tips along the way:
Wash Spinach
Washing spinach is oddly tricky if you’re trying not to waste too much water. I place the spinach leaves in an extra large bowl, then fill it with water. Swirl it around, using your hands to clear any dirt in the crevices, then drain the water and repeat. The bottom of the bowl will catch the remaining debris. I like to give it a final, quick rinse over a colander. Drain while you prepare the recipe. You can also do this in advance and keep it in the fridge.
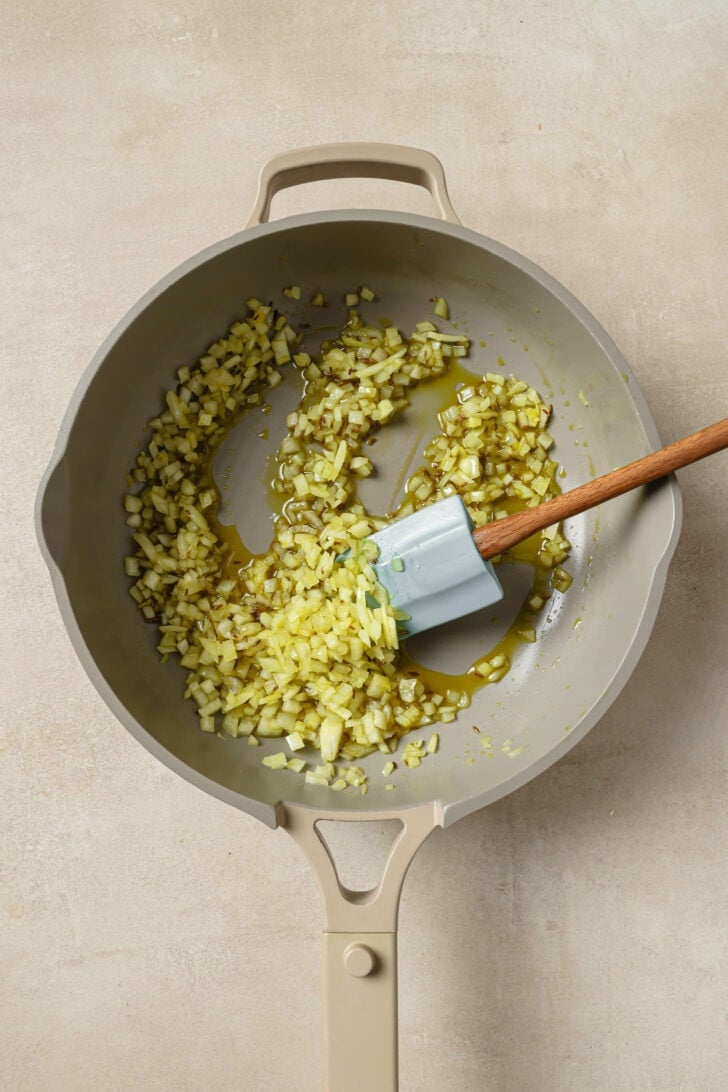
Prepare Base
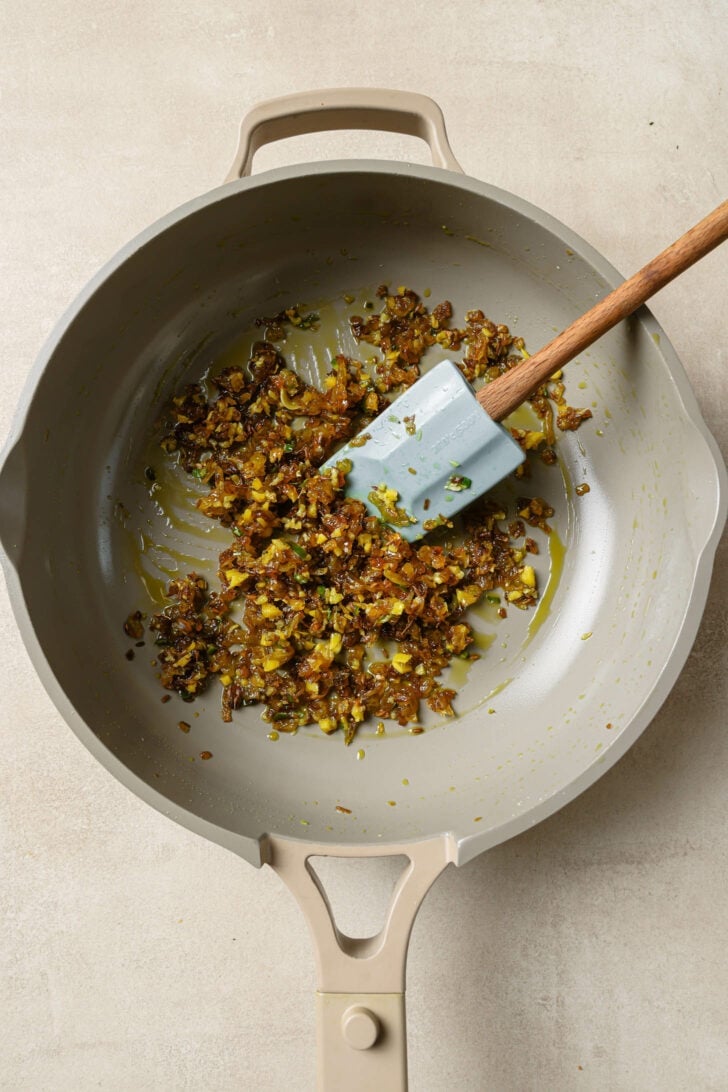
Sauté the chopped onions along with cumin seeds to form the base (or masala) of the curry. You want to sauté until golden, but not fully brown, because they’ll deepen even more in color once you add the garlic and ginger. If at any point the onions start to stick to the pan or brown unevenly, deglaze with 1-2 tablespoons water.
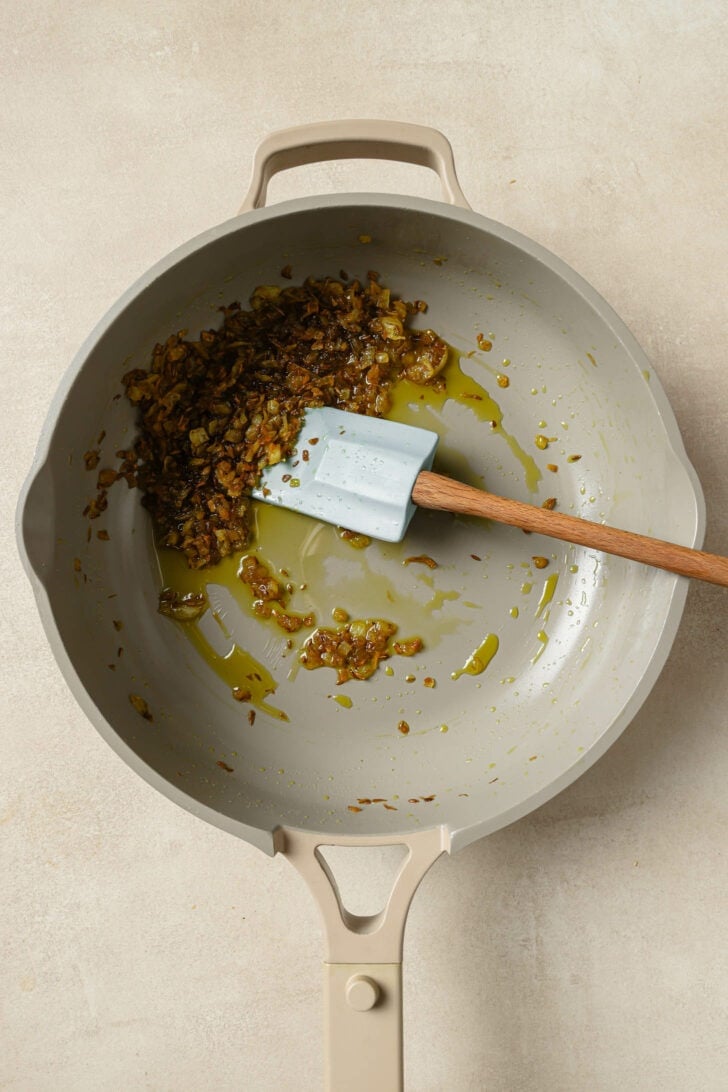
Add garlic, ginger, and green chili pepper: Adding the garlic and ginger at this stage cooks out the raw flavor and allows them to become fragrant. The green chili infuses the curry with a subtle warmth. It would be more fiery if added later in cooking.
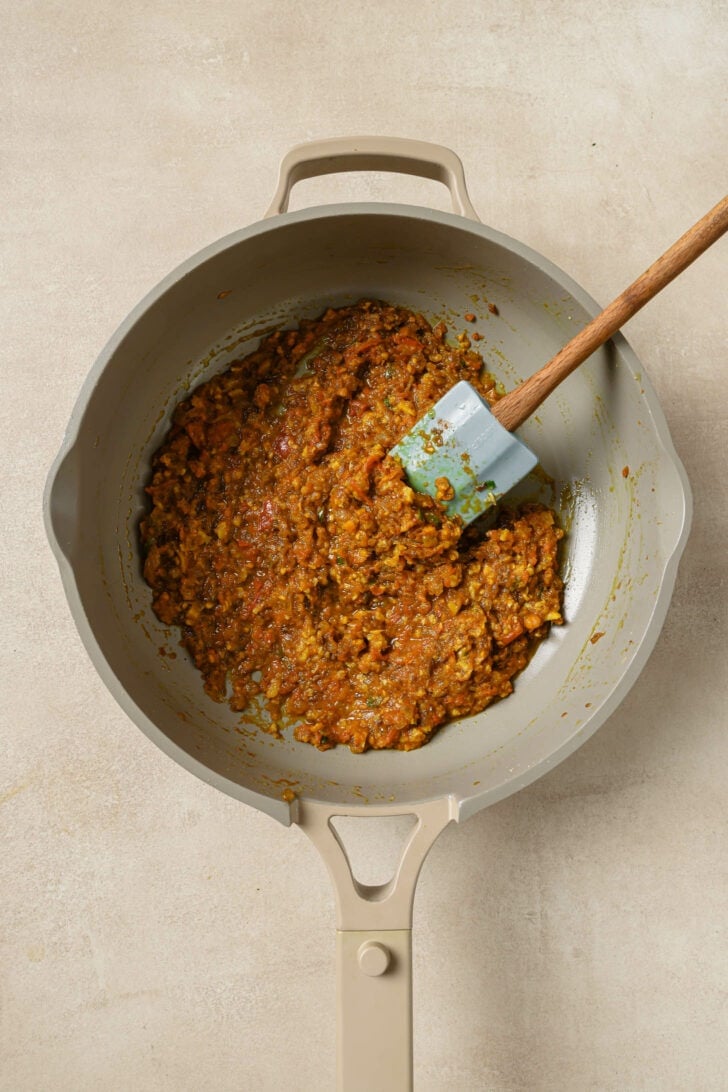
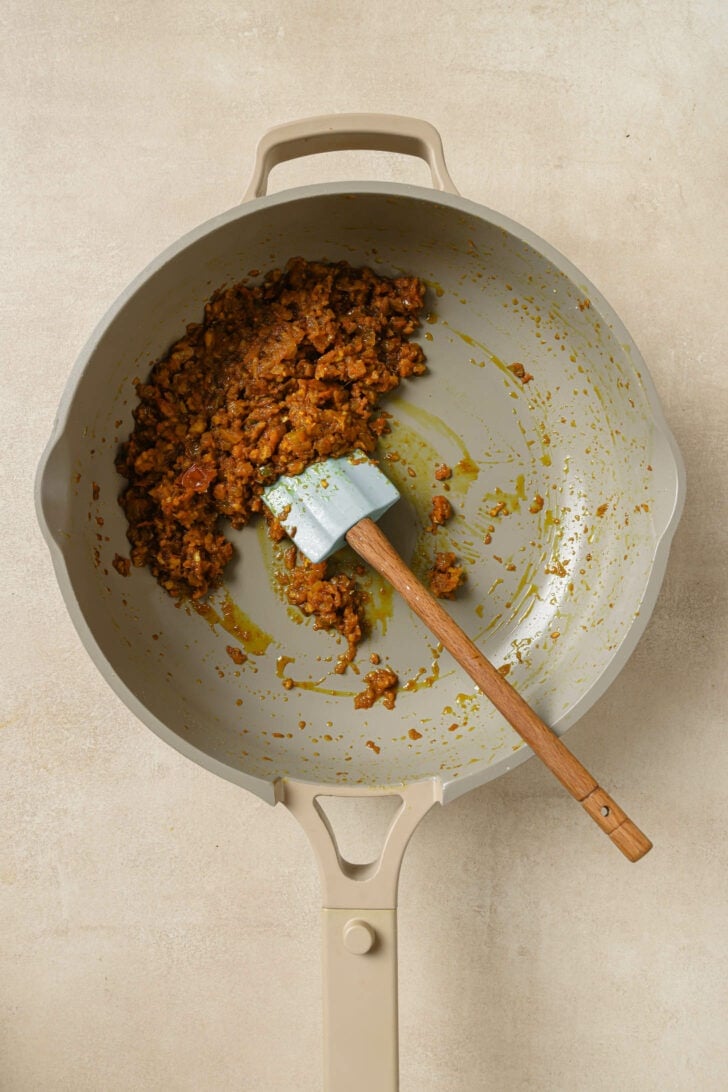
Add the tomatoes, ground spices, and salt and continue to sauté until reduced and you can see the oil lining the masala.
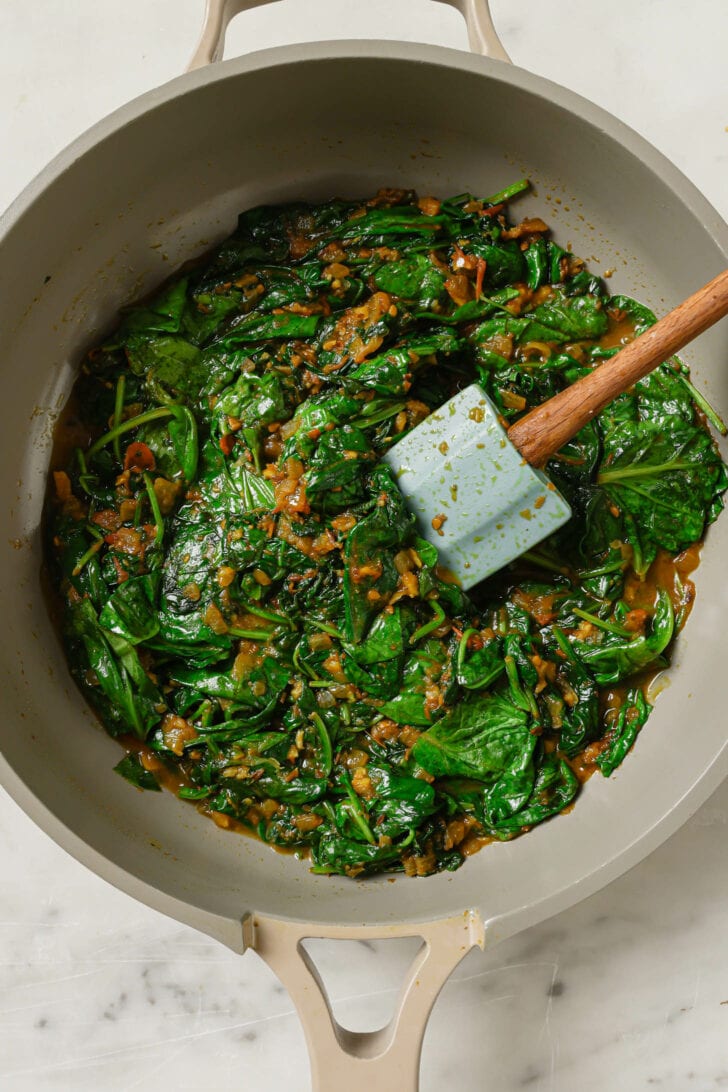
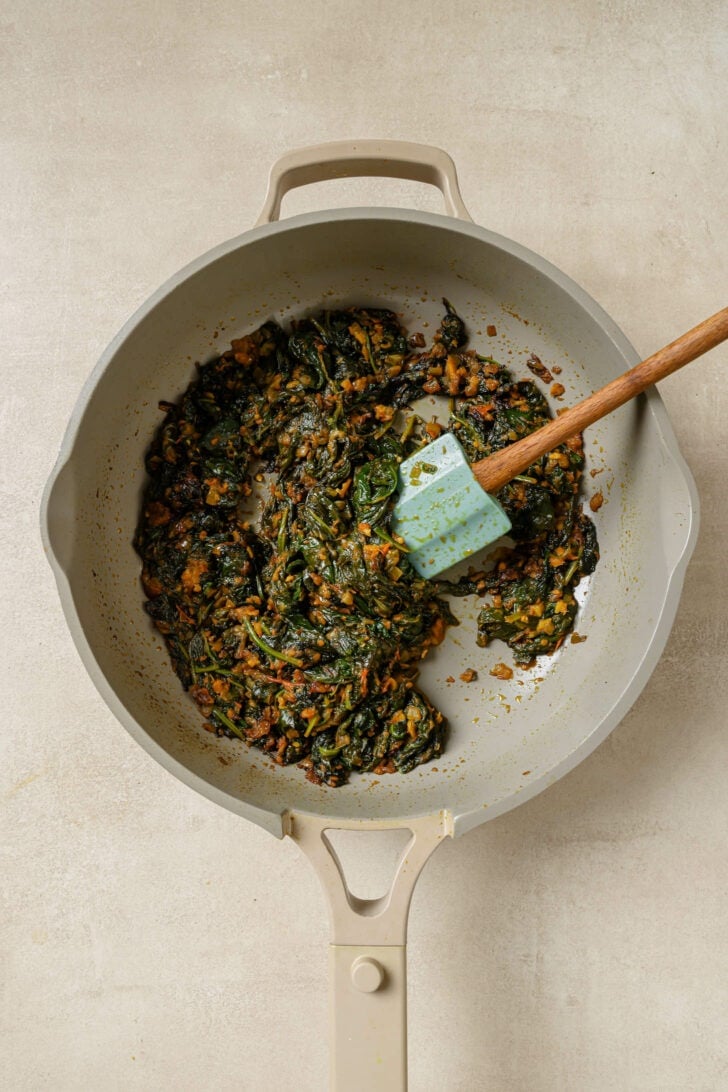
Add Spinach
Wilt the spinach. When it comes to cooking spinach, you want to cook with minimal water, as it releases so much of its own moisture. If it starts to stick (likely if using frozen), add ¼ cup water. Cover to cook. This step is imperative to extract any raw elements out of the spinach while allowing it to absorb the flavors of the curry.
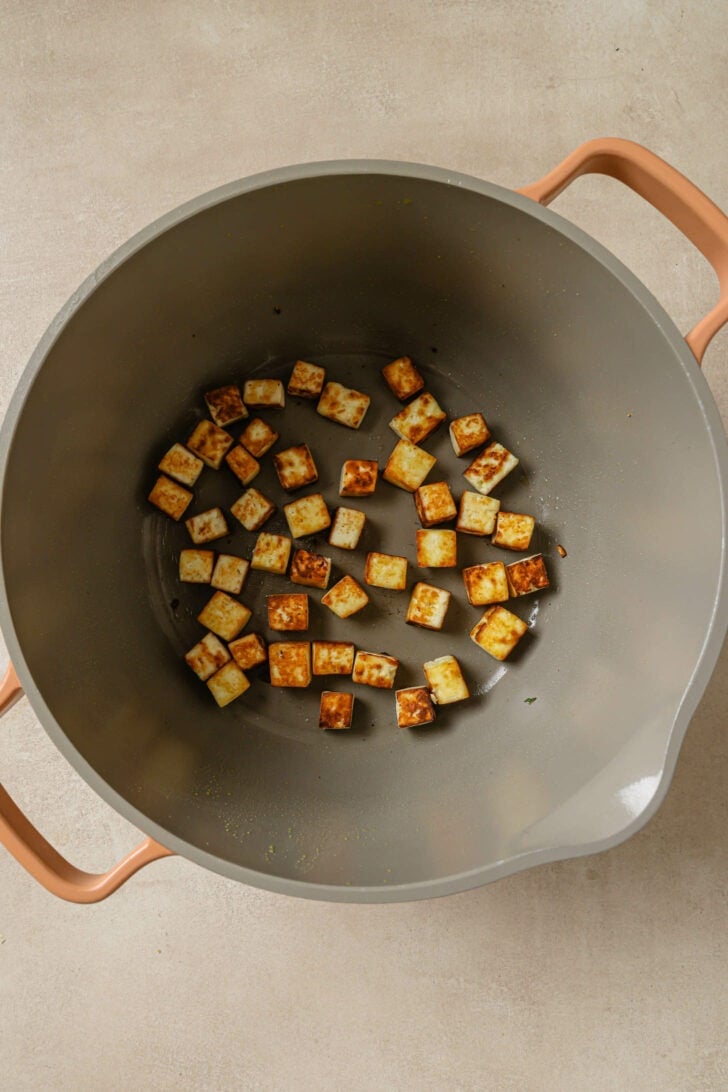
Pan-Fry Paneer (Optional)
While your spinach is cooking, pan-fry the paneer. This step is optional and I would go as far as to say I don’t fry it most of the time. That said, it does give it a luxurious finish. Tips for pan-frying paneer: Use a non-stick pan, which prevents paneer from sticking. To prevent paneer from popping during pan-frying, reduce the heat and keep turning. It may also help to pat with a paper towel to dry excess water before using. To keep pan-fried paneer soft, don’t let it sit too long after pan-frying, as it gets tougher as it cools down. If frying earlier than called for in the recipe, I’ve found that placing it in a bowl of water keeps it soft. Squeeze gently between paper towels before adding to the recipe.
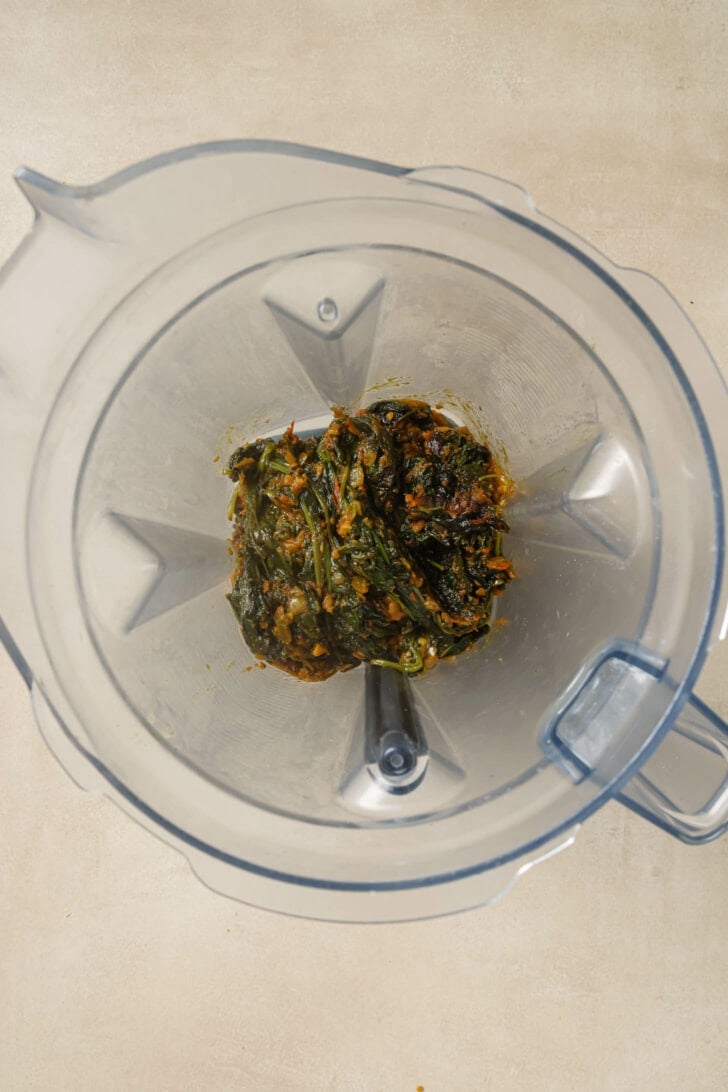
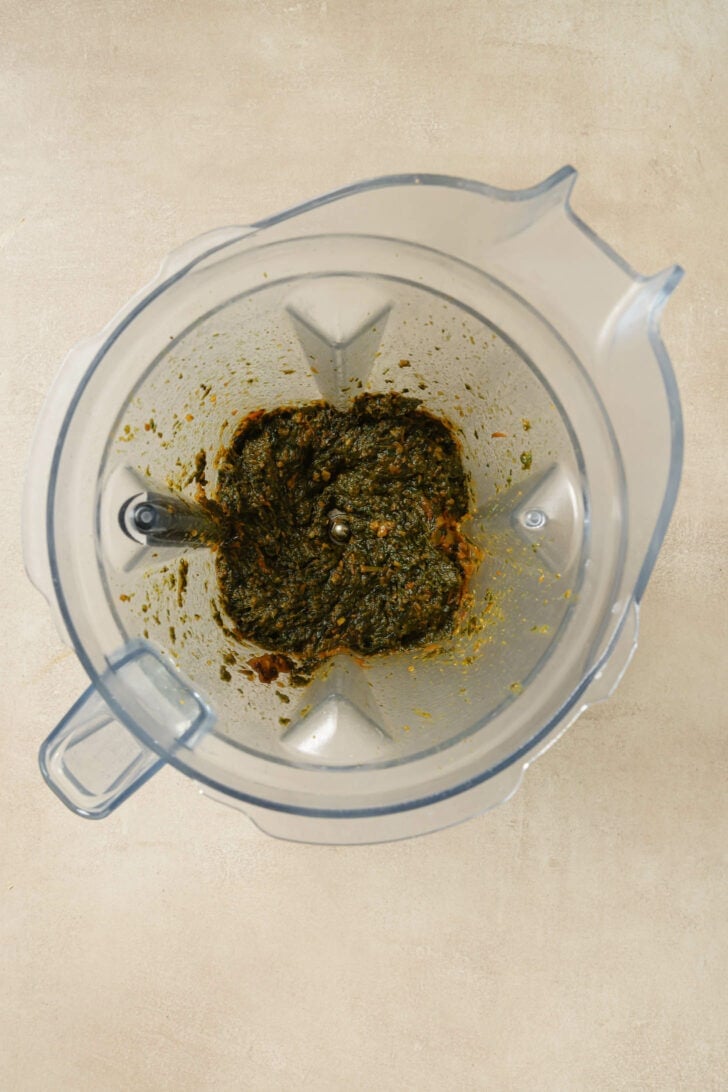
Process Spinach
Transfer your cooked spinach to a food processor (a blender works too).
Blend: Ultimately, it’s up to you how silky smooth or chunky you prefer it. I like some texture – no leaves, but not a soup either.
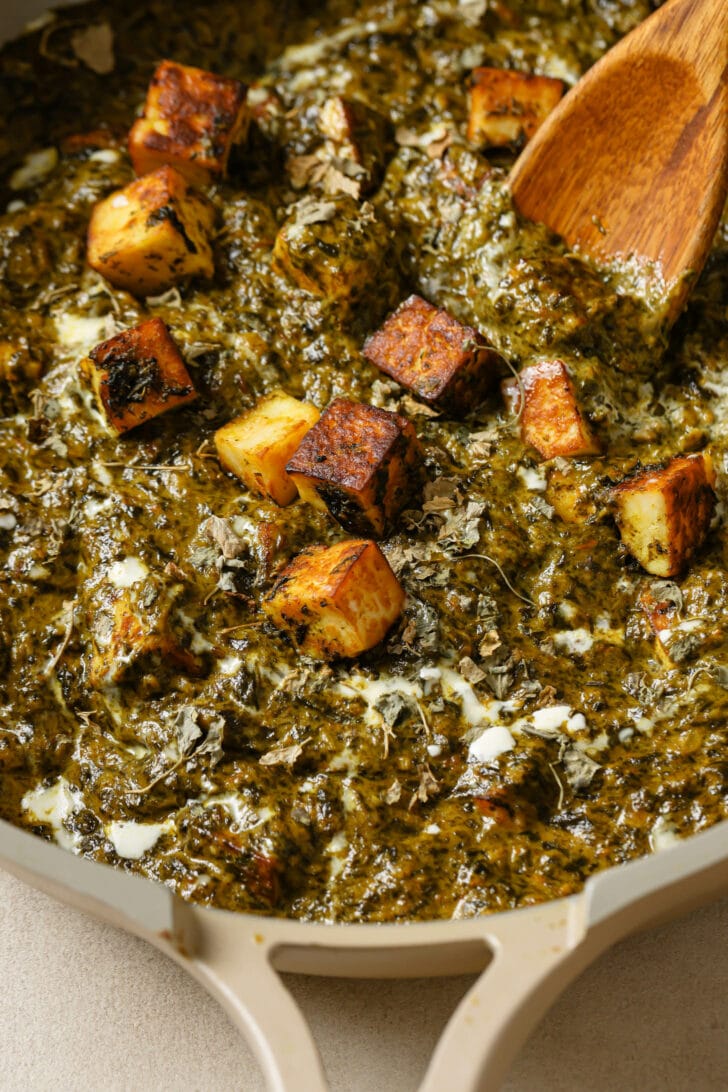
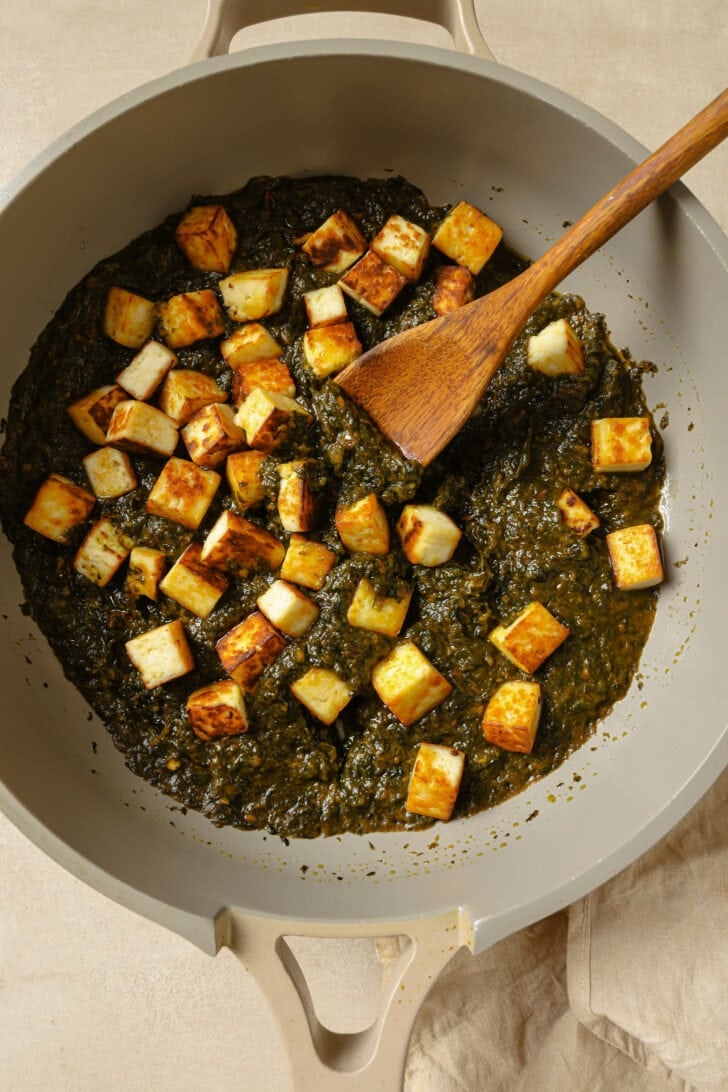
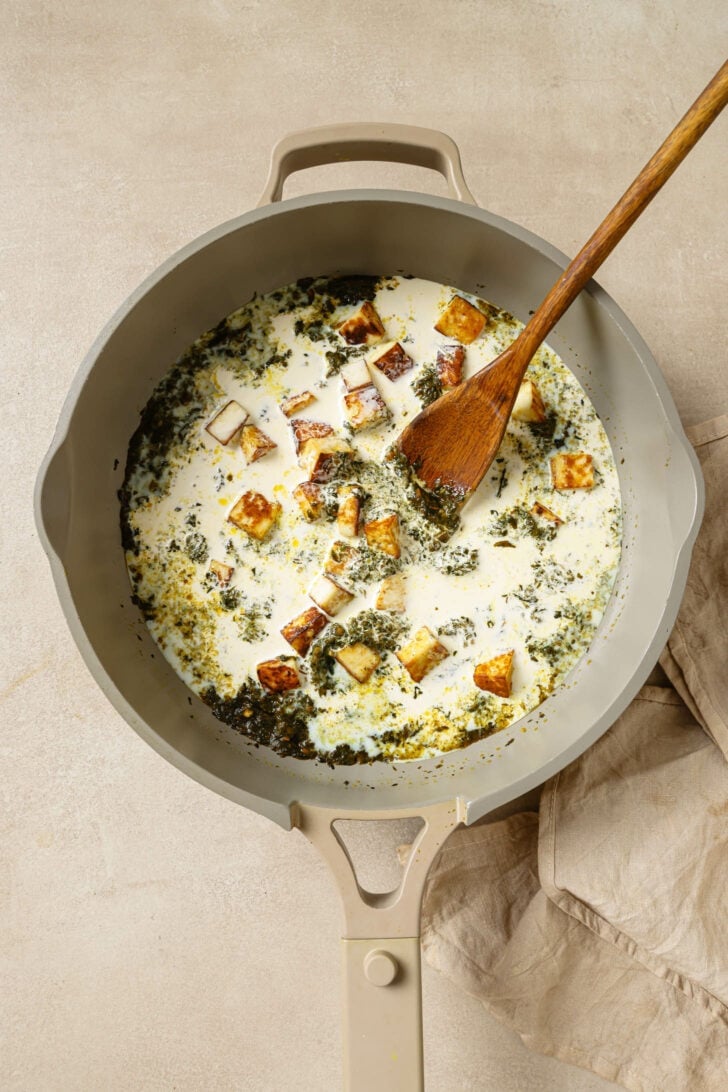
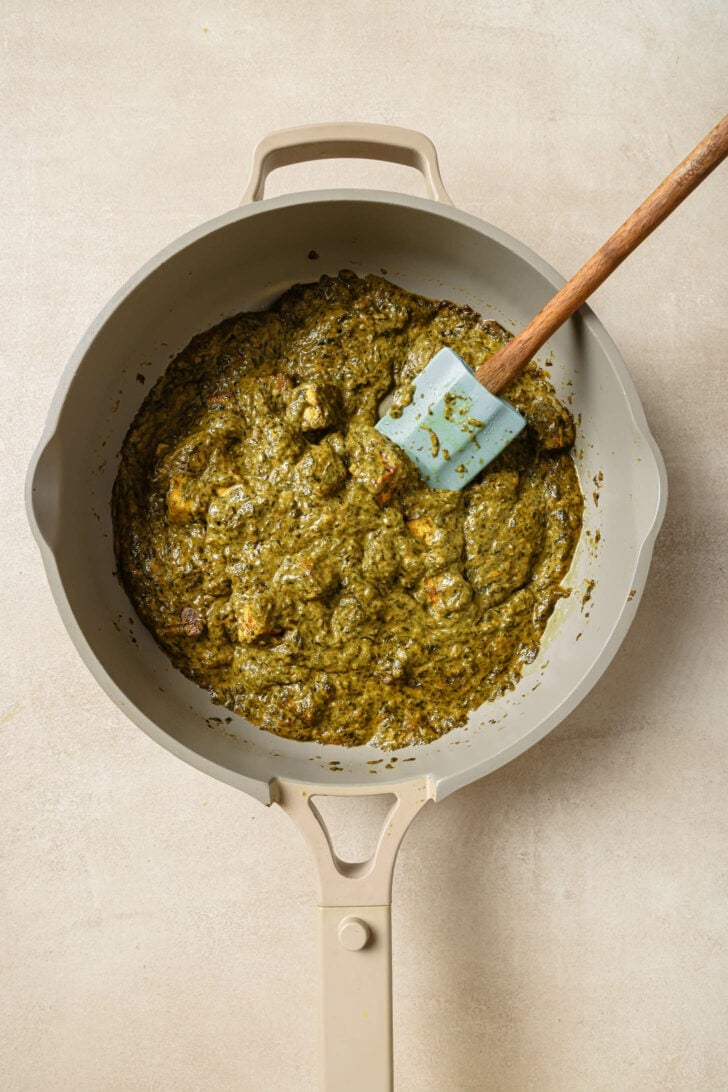
Transfer back: Once you add it back to the pan, fry it in butter or ghee to give that extra, restaurant oomph. Here you’ll thin it out with water and let it meld into the curry. Simmer paneer: A lot of recipes simply fold in fresh paneer in before serving, but I love to give it some time to soften and take on the flavors of the curry. The key is to allow it to gently simmer on medium heat until the initially tough and chewy paneer softens and eases into the curry. Cooking it for too long will lead to its surface disintegrating. Add milk and cream: Remember that you can adjust these quantities depending on how rich you’d like it to be.
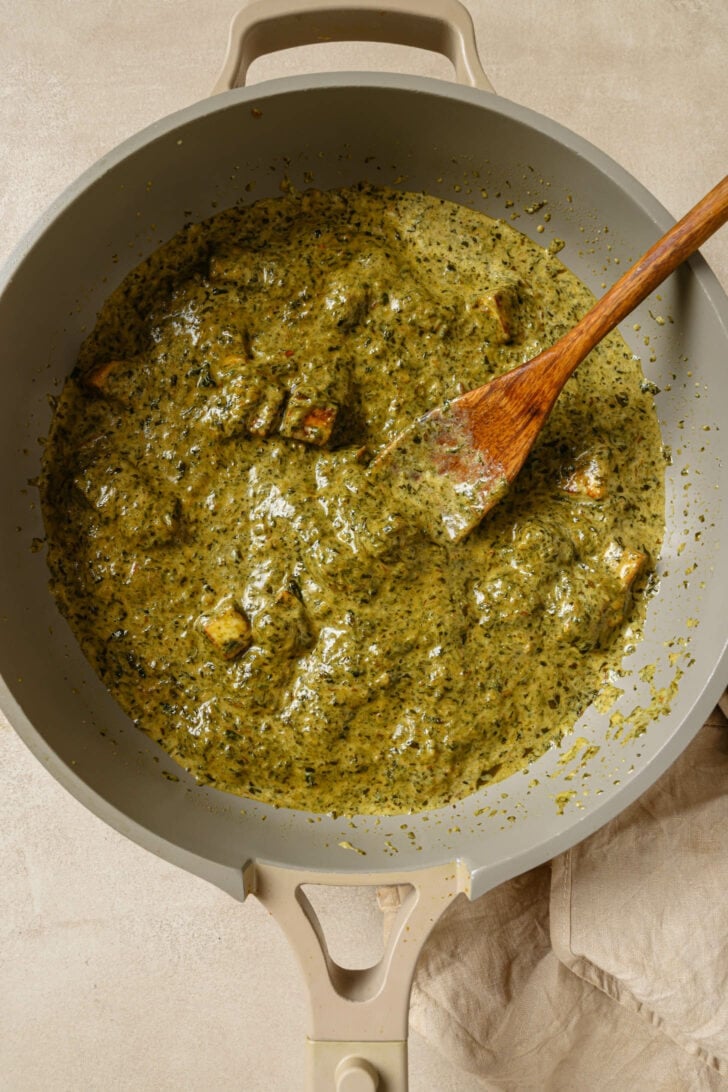
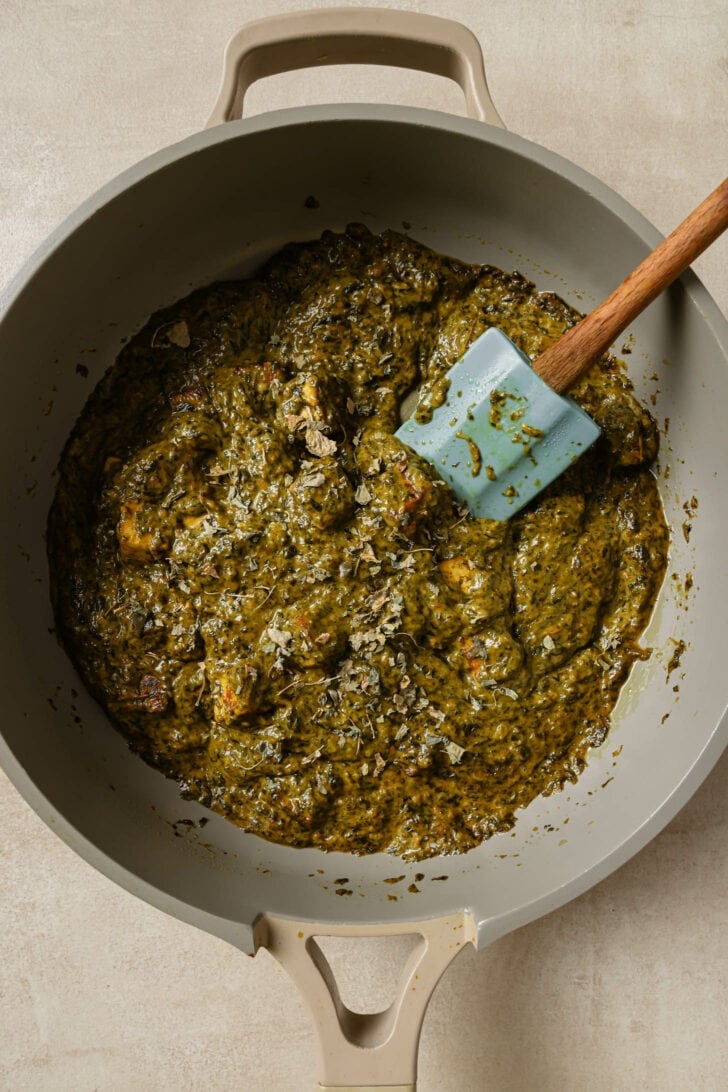
Cover and cook again to meld all the flavors together.
Garnish: Dried Methi, lemon, and garam masala give it a nice finish.
Serving and Modifications
How to Serve & What to Serve it With
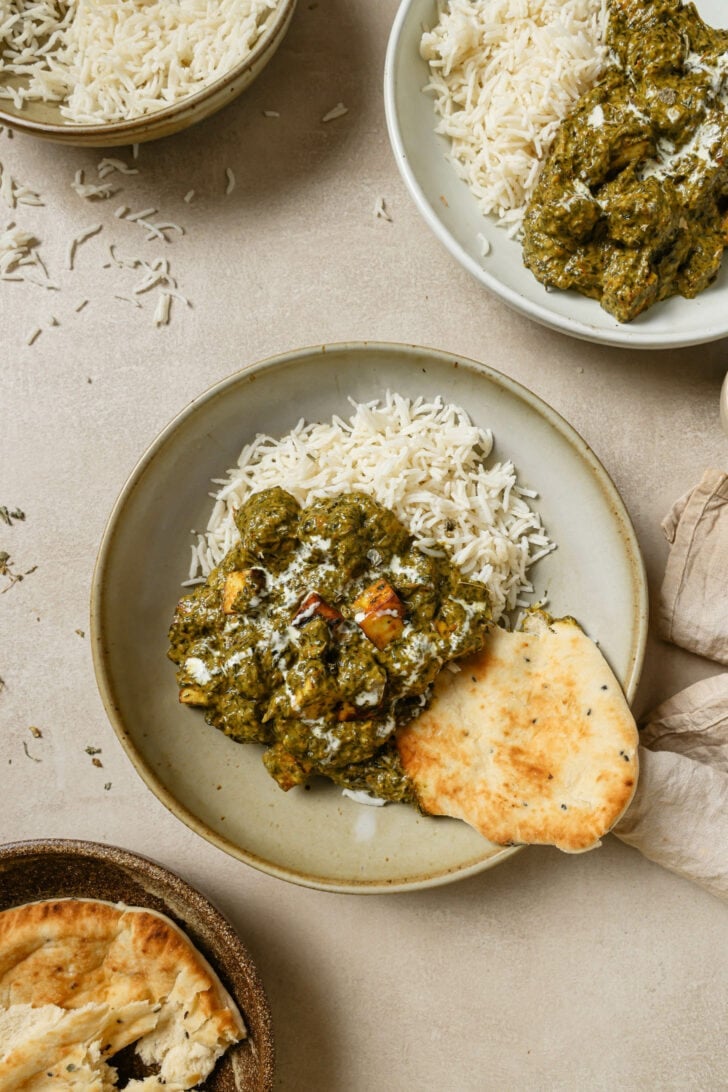
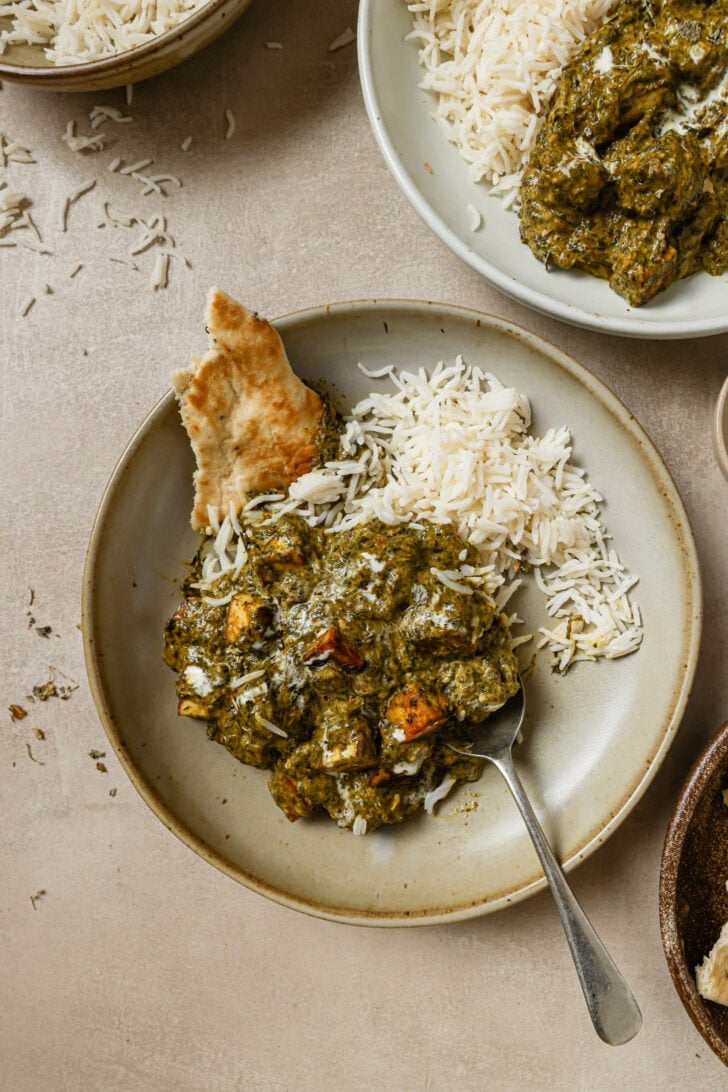
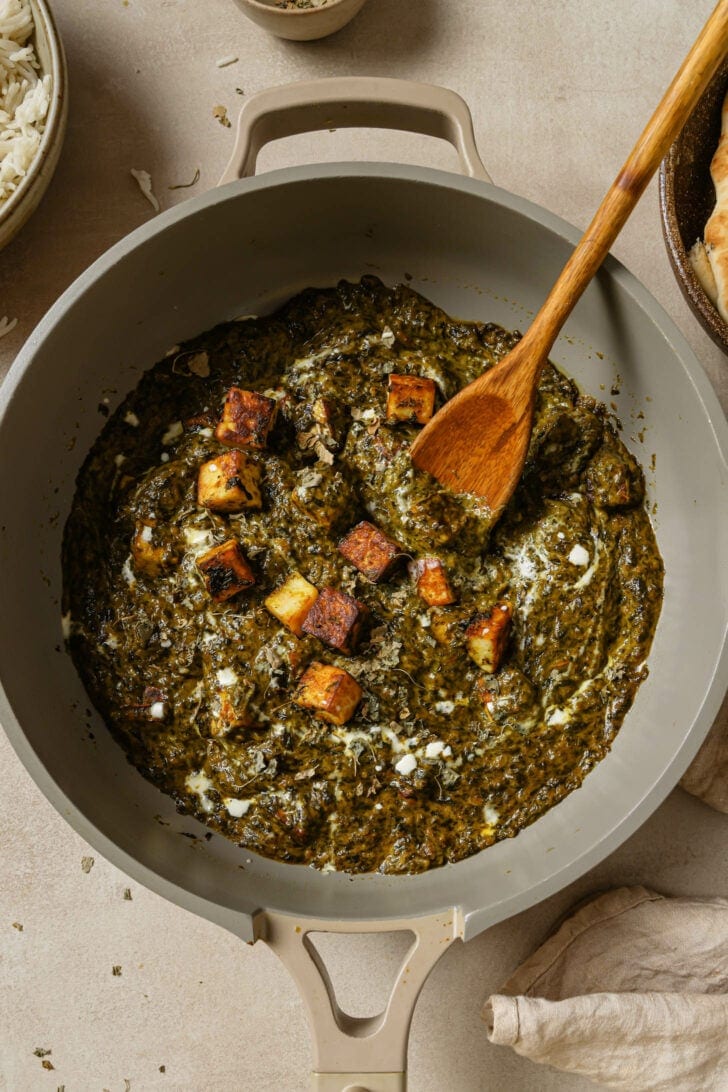
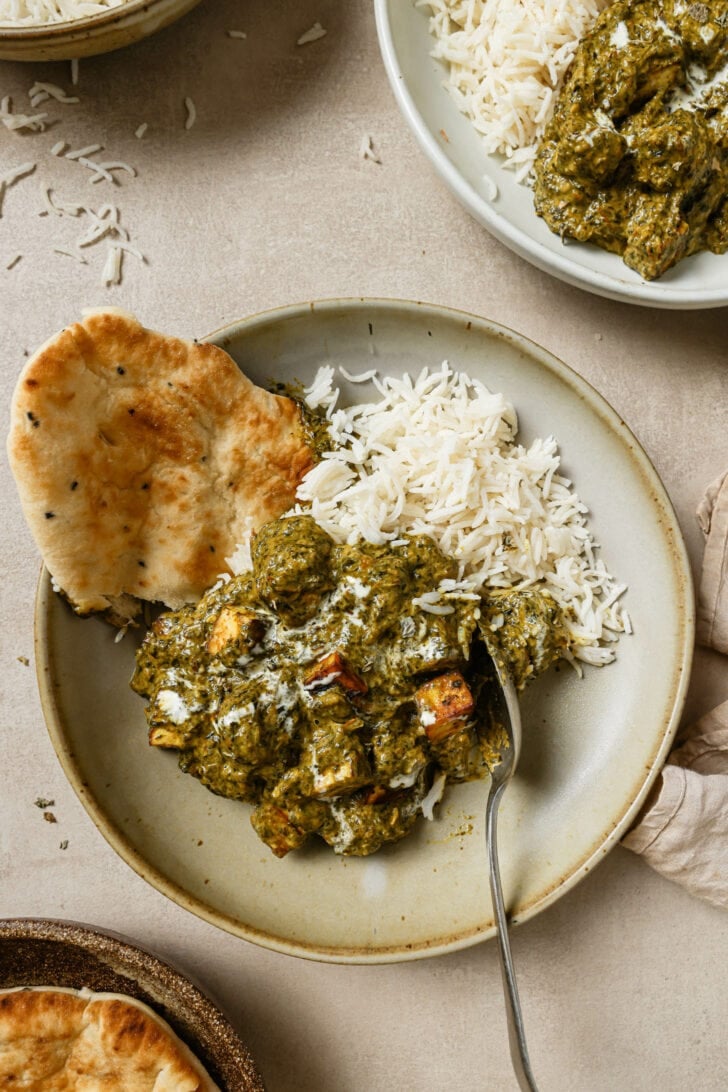
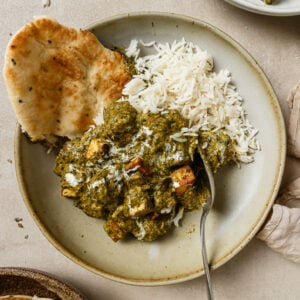
How to serve: For presentation purposes, save a few pieces of pan-fried golden paneer for topping. You can also drizzle with more cream. What to serve it with: Palak Paneer goes with everything: Roti, rice, naan, paratha. For a spread, in my home it was served alongside Butter Chicken and Seekh Kebab.
How to Store and Reheat
Store: Palak Paneer keeps in the fridge for 2-3 days, before the paneer starts turning to mush. You can also freeze it, then thaw overnight in the fridge before reheating. Reheat: I just microwave it, but you can also reheat over the stovetop with water to thin it out.
Variations
This recipe has a solid base which makes it easy to experiment with.
Several recipes use yogurt in place of the cream to offer creaminess and tang. I’ve also seen restaurants and home cooks use sour cream, which seems to do the the job of tomatoes/yogurt and cream. Dairy-free: As suggested by Anupy Singla in her cookbook, Indian for Everyone, replace the ghee/butter with oil, the cream and milk with cashew cream, and paneer with tofu. If you try it dairy-free, I’d love for you to share so others can benefit!
Tried this recipe? If you have a minute, please consider leaving a comment telling me how it was! You can also take a quick picture and upload it directly into the comments. If you’re on Instagram, please tag me so I can see your creations. I truly love hearing from you. Thank you!