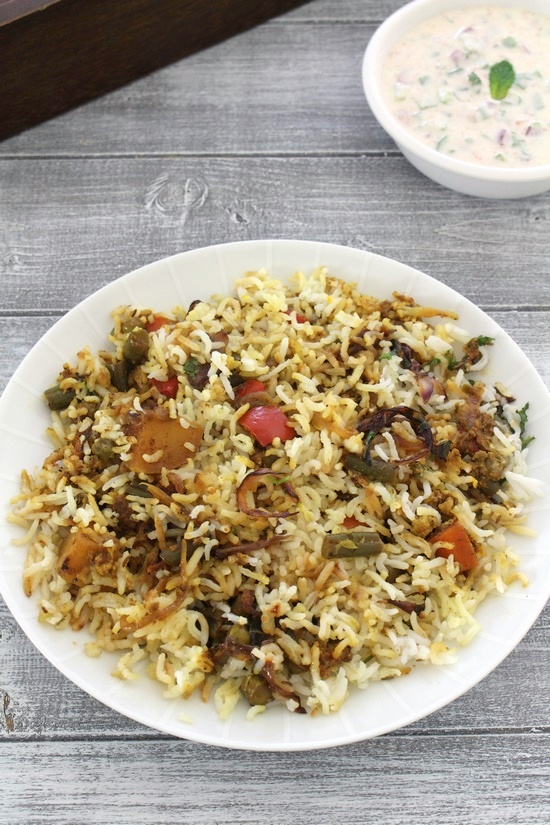
Making veg biryani at home requires some time and it is a little lengthy process. But all the efforts are worth since you have made the best tasting vegetable biryani. Of course, you will get a lot of praise from your family members or loved ones, I bet. Biryani has more complex and stronger flavors compared to the pulao.
Why is it called dum biryani?
A: Dum is not the type of biryani but is the cooking method, also known as ‘dum pukht’. What is dum pukht? A: This process is described as the ‘maturing of the prepared dish’. After partial cooking is done, assembled into the layers, the pot is sealed as tightly as possible, either with the dough or with a tight fitting lid. This pot then placed on hot ashes and a few coals are placed on the lid. It remains like this for 20-30 minutes, allowing the individual flavors of the dish to blend into their own unique flavor. (At home, we cannot use ashes and coals, instead we will be cooking on stovetop or in the oven.) The amount of water (moisture) left in the pot before sealing produces the steam while slow cooking. It prevents the biryani from burning and it blends in its own juices and absorbs the delicate flavors of the added spices and herbs. The pot should be opened at the table so that everyone can benefit from that first and most ratified fragrance. Then the equal amount of rice and vegetables are served to every individual. This version is from the Hyderabadi cuisine which is the most popular in India and also in Indian restaurants everywhere. There are many other variation to veg biryani region by region. I will try to post those as well. For making best veg biryani, you must choose good quality long grain basmati rice. There is simple version of restaurant style biryani rice recipe I have posted. Other biryani recipes on the blog – baby potato biryani, paneer biryani
Step By Step Photo Instructions:
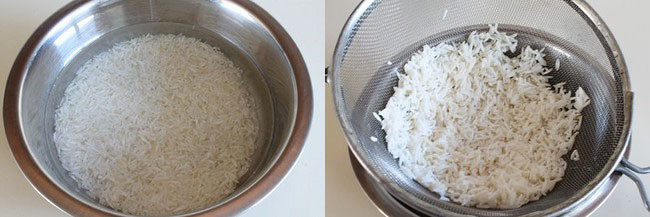
- To make veg biryani, first, wash the basmati rice under running cold water till water runs clear. Soak them in enough water for at least 20 minutes.
- After soaking time, drain the rice using strainer or colander.
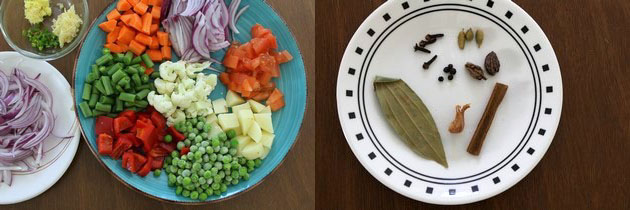
- While rice is soaking, prepare rest of the ingredients. Chop all the veggies and make tomato puree. (Note: in the picture, chopped tomatoes are shown, I have made the puree later)
- Prepare the spices for vegetable gravy and also for cooking rice (Note: star anise not in picture). Cooking Rice For Veg Biryani
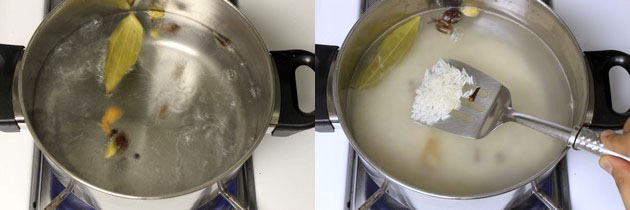
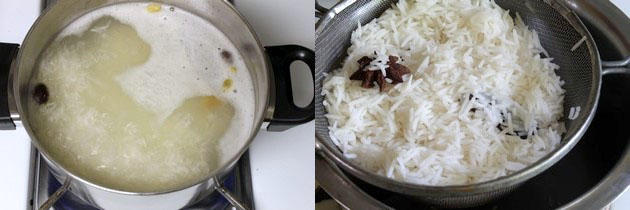
- heat water in a pan on HIGH heat. Bring it to a rolling boil. Once it starts boiling, add whole spices (green cardamom, black cardamom, cloves, peppercorns, cinnamon stick, mace, bay leaf and star anise) and salt.
- Also, add soaked, drained rice.
- Let it cook for exactly 5 minutes or till the rice is 80% cooked. Rice should not be fully cooked, it should be under cooked. When you bite into you will feel slight rawness.
- Drain this cooked rice and rinse under cold water. So it stops further cooking. Let the excess water drain out completely for 5 minutes.
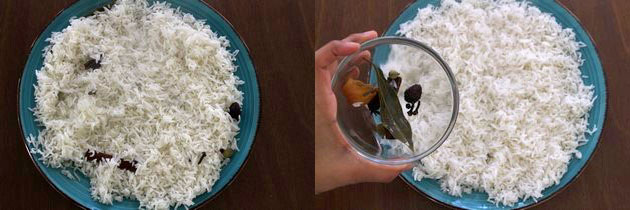
- Then spread the rice on the large plate. So that rice grains do not stick to each other.
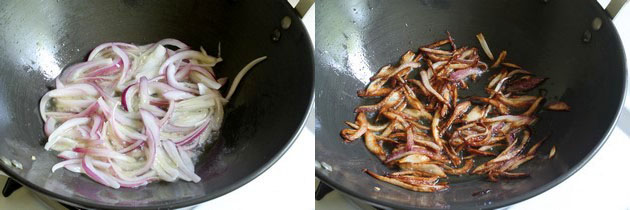
- Also, discard the whole spices. Frying Onion & Nuts 1)Heat 2-3 tablespoons of oil in a pan on medium heat. Once hot add sliced onions.
- Fry them till they are golden brown. Do not burn them. Remove it to a paper towel-lined plate.
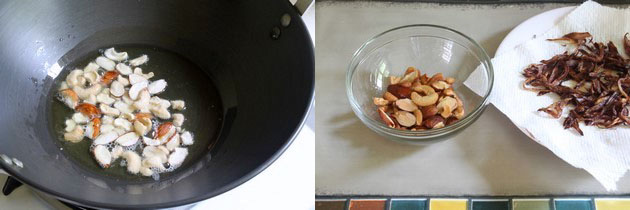
- Now in the same oil, fry the cashews and almonds till they are light brown in color.
- Remove it to a bowl or plate. Cooking Veggies:
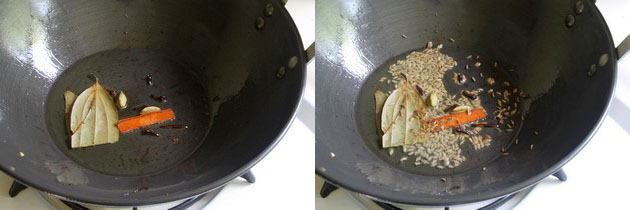
- In the same pan add 2-3 teaspoons of more oil. Once the oil is hot, add whole spices (green cardamom, cloves, cinnamon stick and bay leaf). Saute for a minute or so. You will get a nice aroma of the spices.
- Now add cumin seeds and let them sizzle a bit.
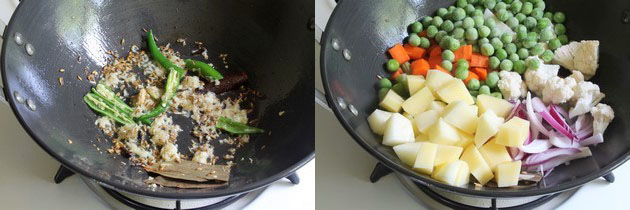
- Then add ginger paste, garlic paste and slit green chilies. Cook for a minute or till the raw smell of ginger garlic goes away.
- Now add all the vegetables (onion, carrot, green beans, cauliflower, potatoes, and peas).
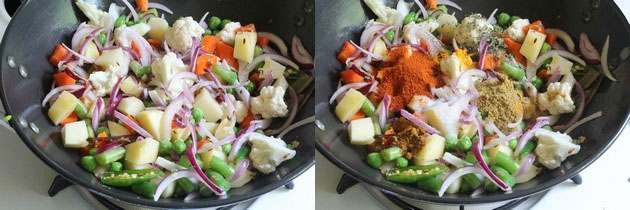
- Mix well.
- Add salt and all spice powders (red chili powder, turmeric powder, coriander powder, garam masala or biryani masala and kasoori methi).
- Mix well so all the spices are coated well to the vegetables.
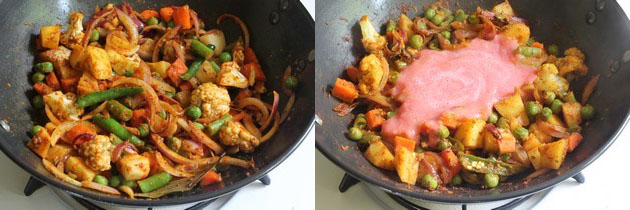
- Now add tomato puree and mix well.
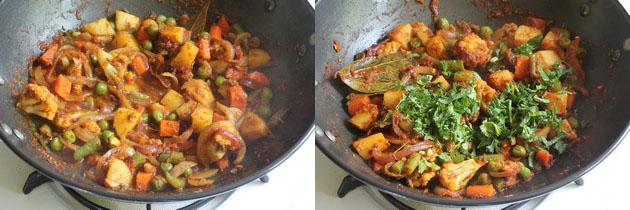
- Cover the pan and cook till veggies are 75% or 3/4 th cooked.
- Add chopped coriander and mint leaves.
- Mix well and keep it aside.
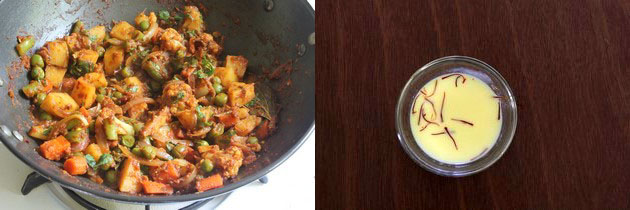
- Take milk and saffron strands in a small bowl and slightly warm it up in the microwave. So you get the nice color of saffron. Make Yogurt Mixture:
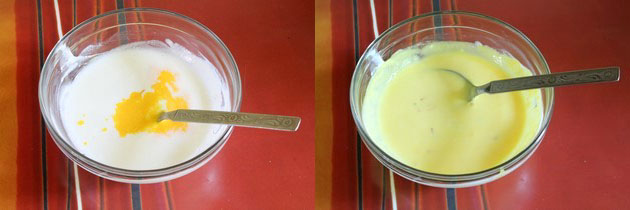
- Now add this milk-saffron into the yogurt. Also, add rose water or kewra water.
- Stir well and keep it aside. Assembling Veg Biryani Layers.
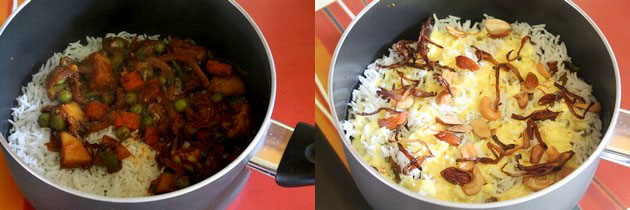
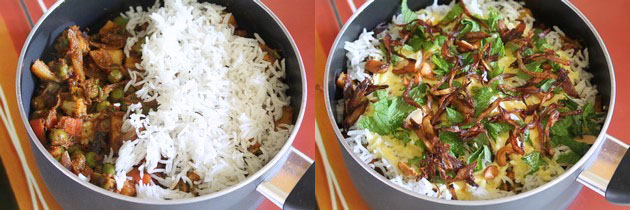
First, spread 2 teaspoons of ghee on the bottom of the pan. This will make sure that biryani will not stick to the bottom of the pan while cooking and also it adds some flavor. Spread third part of the rice at the bottom. Next on top, spread the half amount of the vegetable gravy. Again spread third part of the rice. On top of the rice, sprinkle half of the yogurt mixture followed by half of nuts and fried onions.
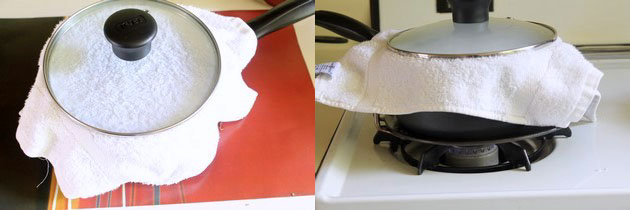
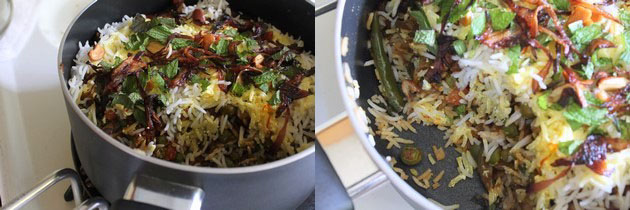
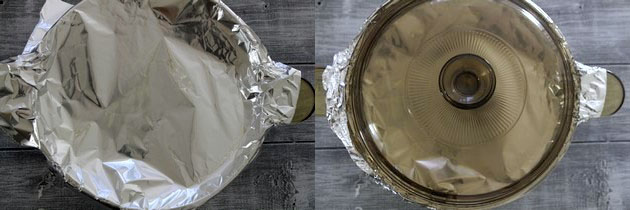
Now spread rest of the veggie gravy and on top with the last layer of rest of the rice. Also, sprinkle rest of the yogurt mixture, nuts, and fried onions. Lastly, sprinkle mint leaves. Cooking Veg Biryani On StoveTop Now for dum cooking, there are few methods. One is put a clean napkin on top and then cover with tight fitting lid. Second is cover with foil and then with tight fitting lid (shown below). Third is cover with a lid and the seal the edges with dough. (This is traditional one, I do not prefer this method because I do not like wasting the dough.) Pre-heat the tawa on medium heat. Once tawa is hot, LOWER the heat to low. Put the prepared biryani pan on tawa. And cook for 15-20 minutes. After that open the lid. Serve the equal portion of rice and veggie to every person. You can see that biryani is not sticking to the bottom at all. Two things helped in this – one is spreading the ghee and second is cooking it on low flame on tawa. Baking Veg Biryani In Oven
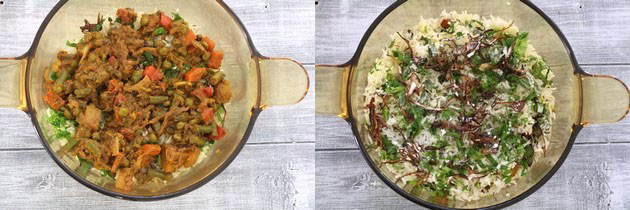
- preheat the oven to 400 degrees F or 200 degrees C. Now assemble or layer the biryani as mentioned above. Make sure to use oven proof pan or dish. You can use pyrex baking dish or visions glass pan which is oven and stove top safe (I am using this).visions glass pan which is oven and stove top safe (I am using this).
- Recap: ghee->1/3 of rice -> 1/2 of veggie -> 1/3 of rice -> 1/2 of yogurt, nuts and fried onions -> rest of veggies -> rest of rice -> rest of yogurt, nuts and fried onions -> mint leaves.
- Cover with aluminum foil. Since we are baking in the oven we cannot use the napkin. You must use foil.
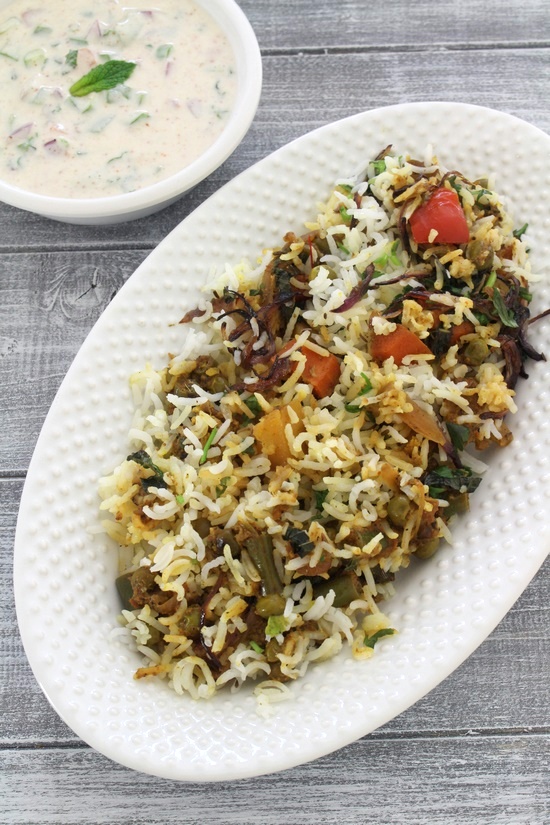
- Then cover with the lid. This is optional, I had the lid, so I used. If you have pyrex dish, you may not have the lid. Only covering with foil is enough. Bake in the preheated oven for 15-18 minutes. Let it stand for 5 minutes then serve this veg biryani with raita and papad. Serving suggestion: Serve veg dum biryani with raita (e.g. mint raita, cucumber raita, boondi raita, vegetable raita). Serve roasted papad on side for some crunch. It can be served with any salan gravy or shorba gravy. Did you try this veg biryani recipe? on stovetop or oven? I’d love to hear about it! Leave a review in the comment section below.
